Our Blog - Renovations (or as I call it ... the Money Pit) - Part 3
At this point, I stopped doing "days" since we aren't seeing the same kind of change every day. We came back from vacation and there had been a bit more work done, although, to tell you the truth, I was a little surprised that they weren't further along than they were. But it did seem like that they had to redo a bit of their electrical work while we were gone, which took a bit of their time.
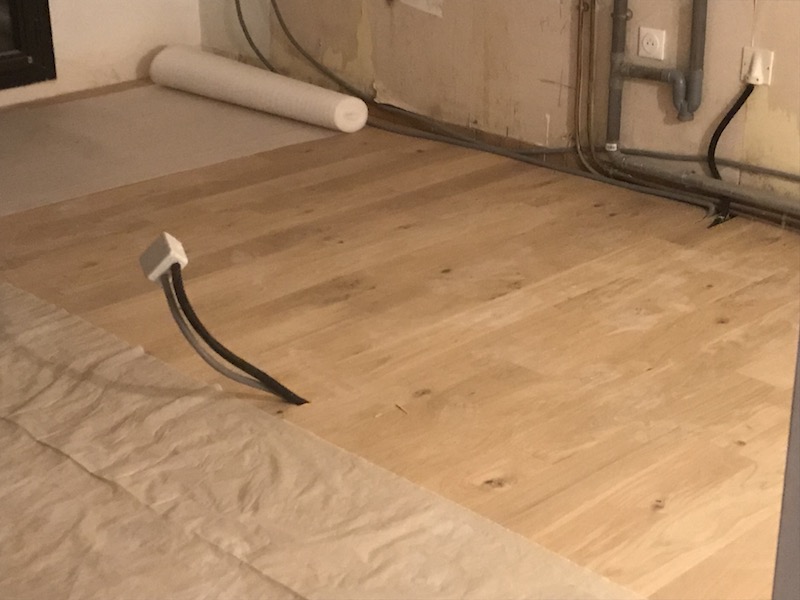
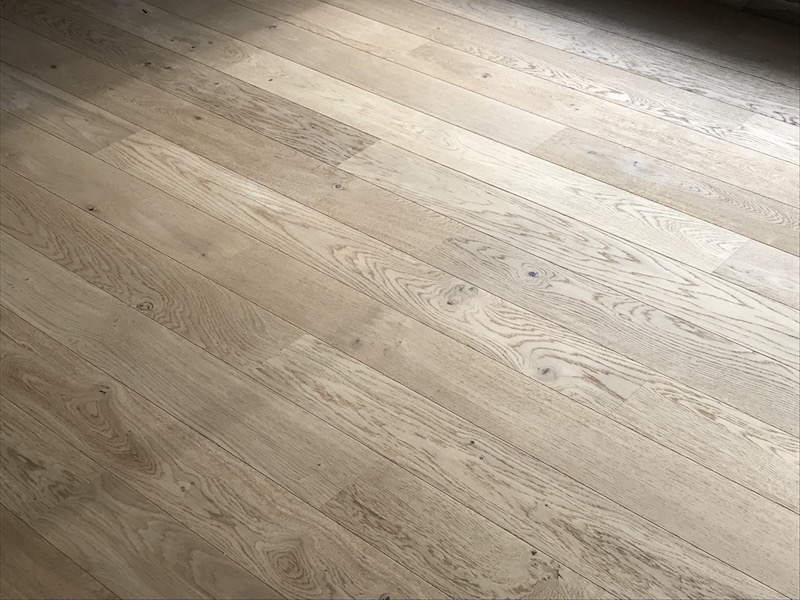
Anyway, the kitchen is being installed soon and so they had to get the things ready for that, including finishing the electrical and plumbing in the kitchen, and doing the hardwood floor in the living room/dining room/kitchen (which is now one large room). I tried to get a nice picture of the color of the hardwood, which is a neutral colored oak floor. You can also see the electrical wiring coming out of the middle of the floor, which will be used for the center island.
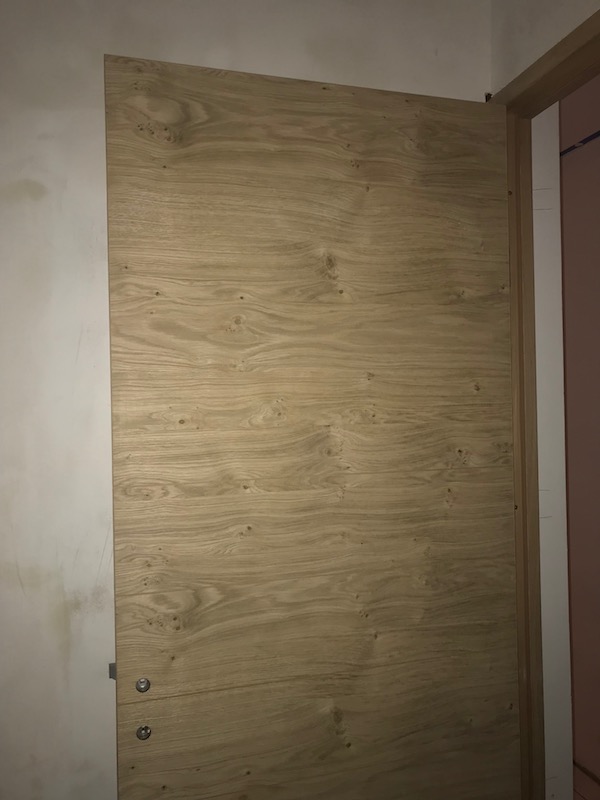
We had originally thought we would just sand and repaint the doors, but when we looked closer at them, we had 4 doors and they were all different in their design. So at the end of the day, we decided to buy new ones. Instead of white doors, we actually thought that adding wooden doors that would remain unpainted would give a bit of additional warmth to the apartment.
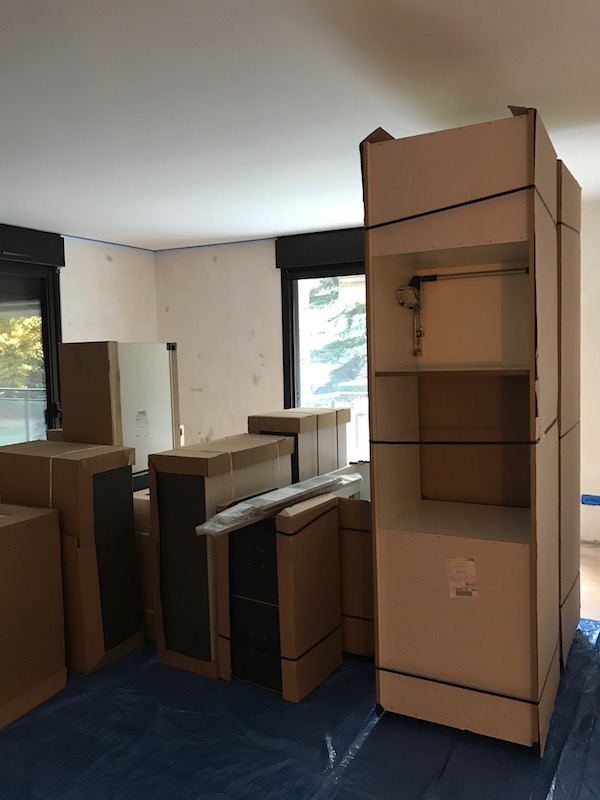
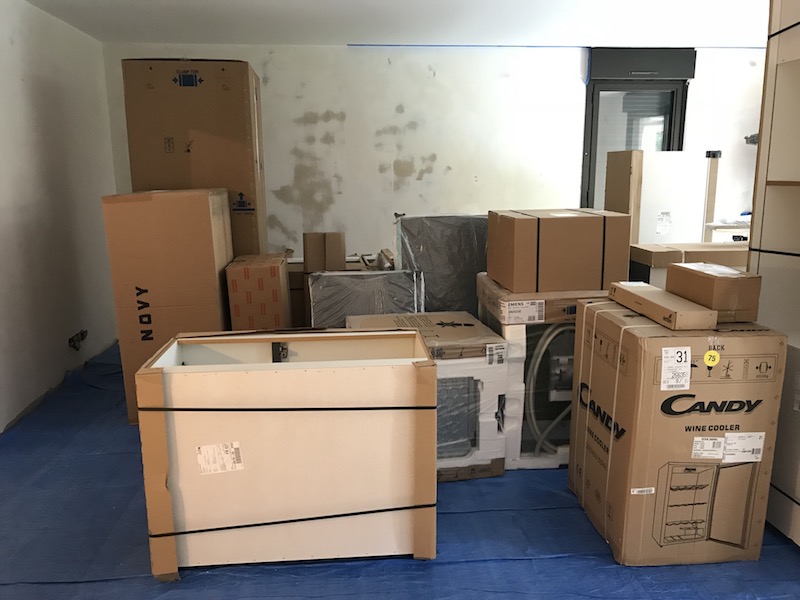
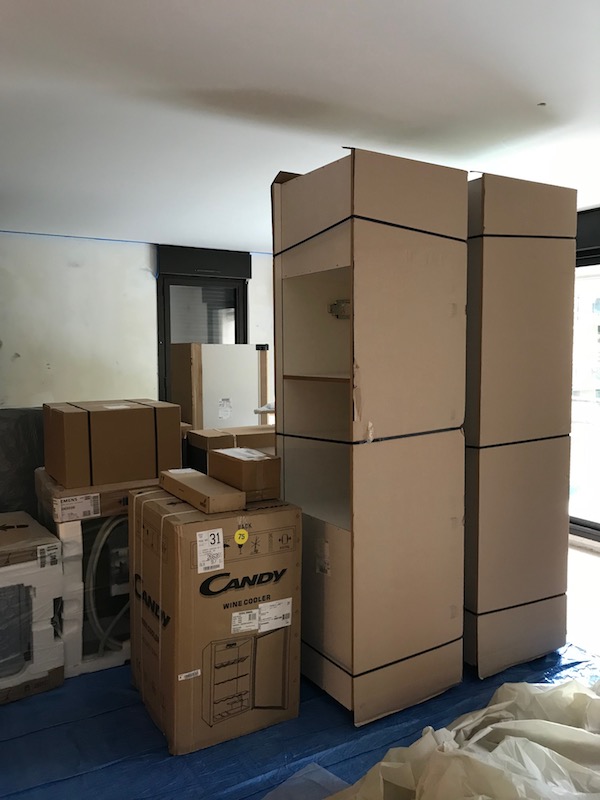
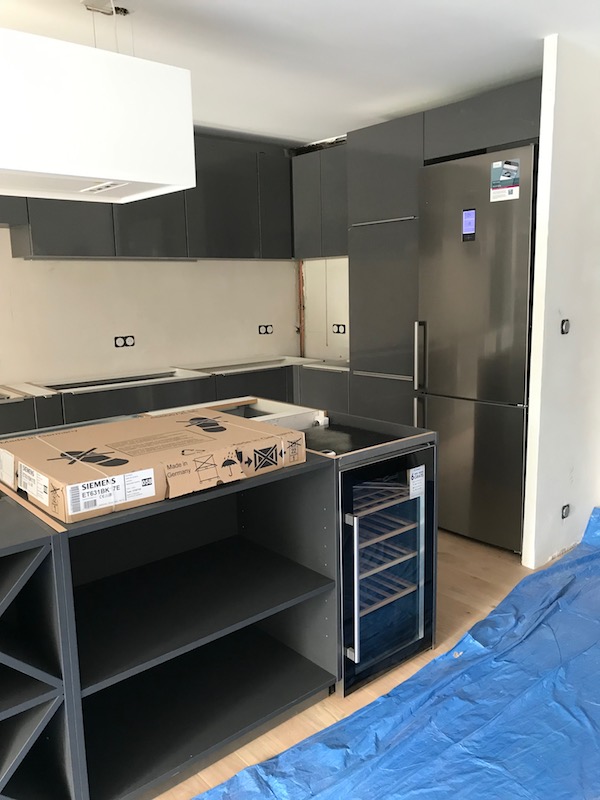
Then we put down a tarp since all of the custom cabinets and the appliances for the kitchen got delivered, a couple of days in advance of the actual installation.

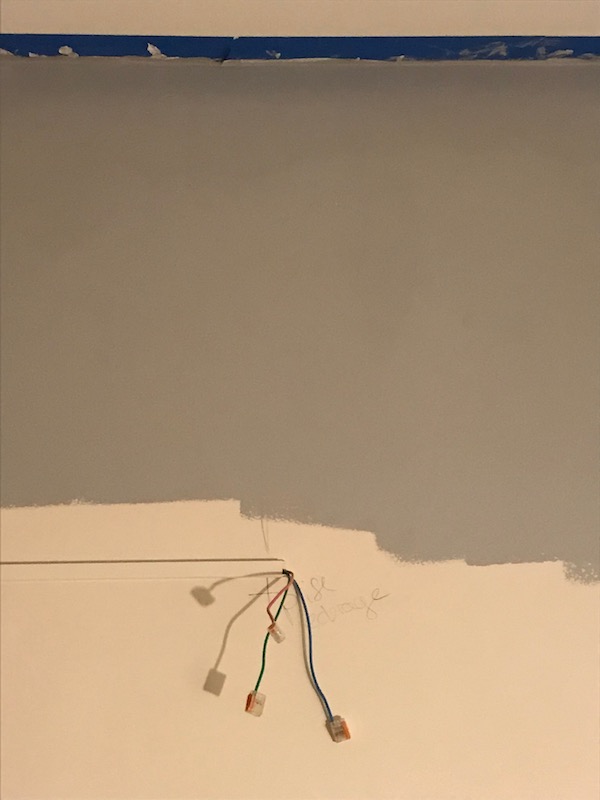
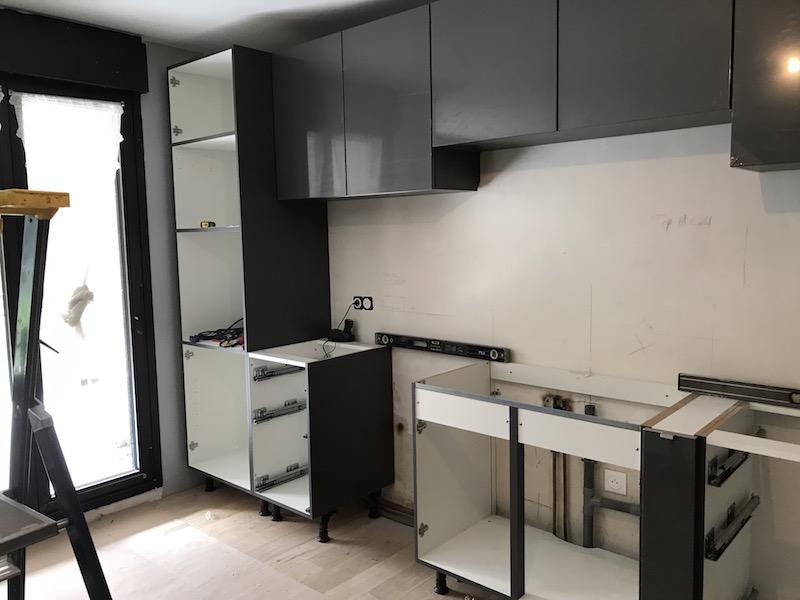
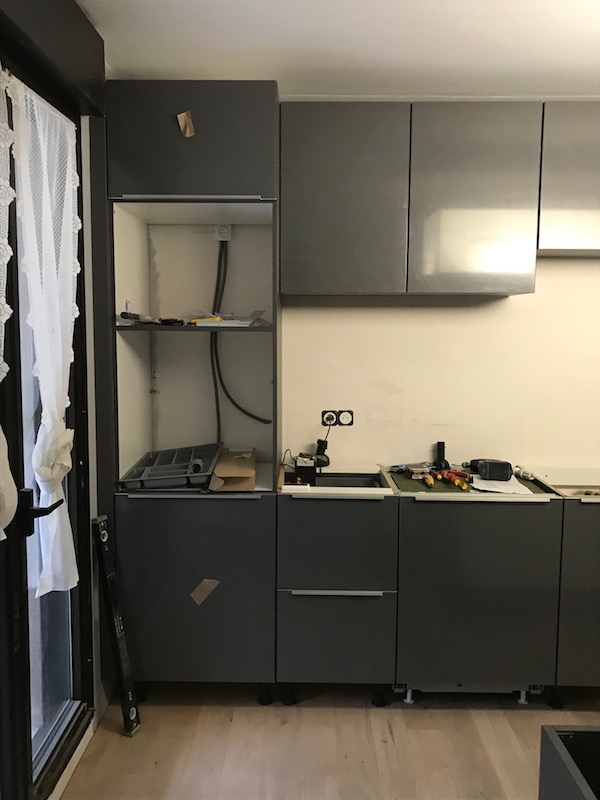
And finally, we started to do the painting. We wanted to get a little bit of paint in the kitchen in the few areas that you *may* actually see it. We did a little strip at the top of the walls, because the cabinets will not go all the way to the ceiling. In addition, we did the two walls where the refrigerator will be and one on the other end of the kitchen where the oven cabinet will be (although we actually think that the cabinet will be up against the wall anyway). We went with a gray here that is close to the color of the cabinets. We were thinking of using this for the living room as well, but after it dried, we think it may be just a little too dark and so we plan to take the unopened cans of paint back to the store and exchange them for a shade or two lighter.

Kitchen Day 1
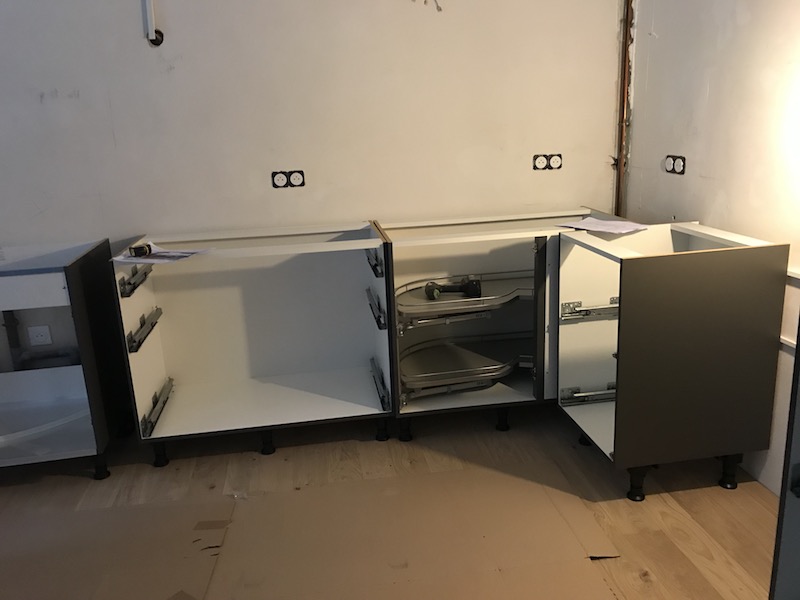
Day 1 of the kitchen installation. It will take a few weeks to totally complete ... 2 days to start to install all of the cabinets and most appliances. Then they will measure for the countertops and the fabrication will take about 2 weeks, and the installation of the sink and cooktop will be done with the countertop. The carpenters arrived quite early, about 8:30am, and they started by unwrapping things and getting the "feet" added to the bottom cabinets. They didn't take long to get most of the bottom cabinets in place.
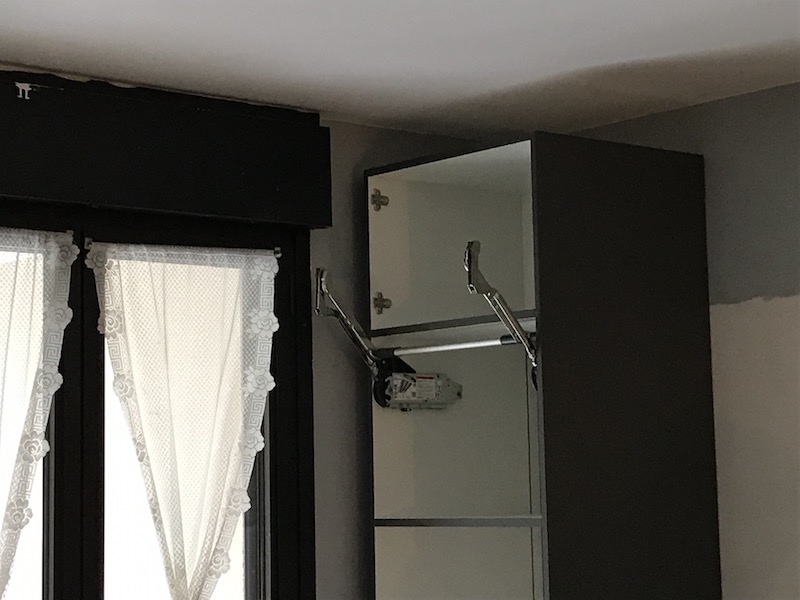
Problem #1 ... the pull-up door on this cabinet, where the microwave will be placed, won't work, since it will hit the black box above the windows, which contain the mechanism and storage for the electronic window shade. It will end up being switched out to just a normal cabinet door.
Then the upper cabinets went in. A couple minor problems there, as 2 of the cabinets had minor damage. The carpenters mentioned to us that they would end up being replaced, but the kitchen designer will have to order them from the factory, so probably a couple weeks for those as well.
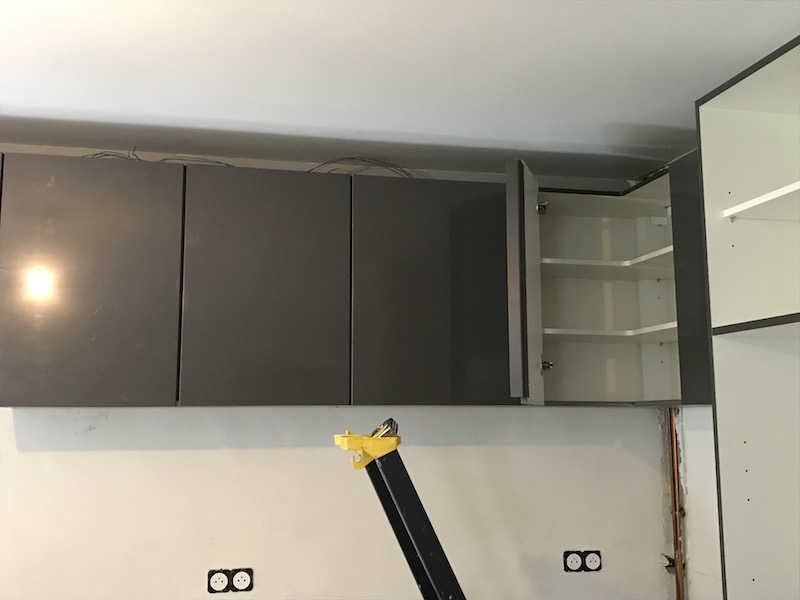
Interim pictures with some of the doors on but not all.

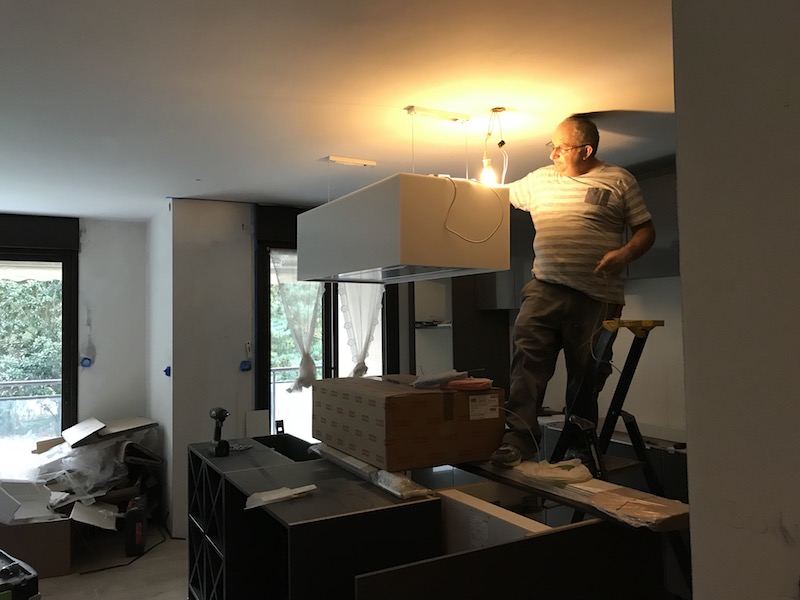
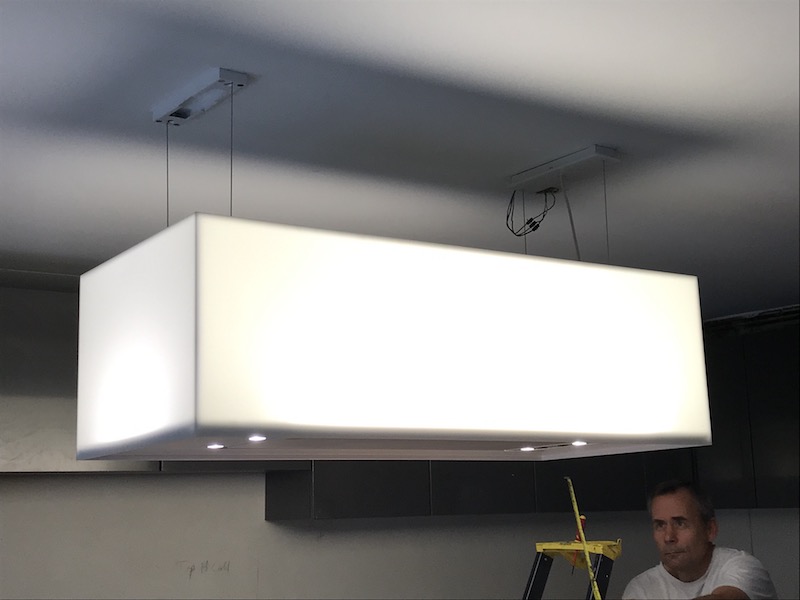
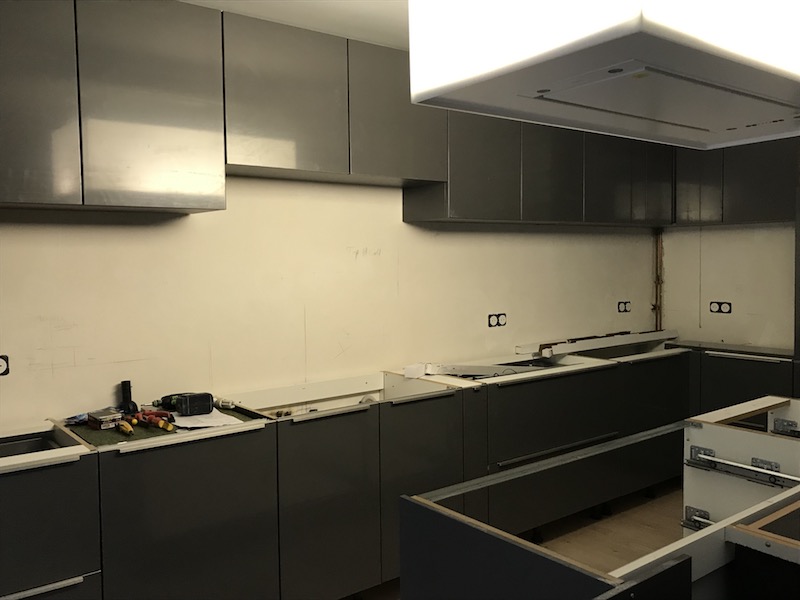
We had splurged on the "hotte", which is the range hood. Since this is an apartment, we don't actually have an exterior vent, so this filters the air and blows it back into the apartment. The "splurge" was on this specific hotte, which hangs from the ceiling on wires and has lights both pointing down to the cooktop, but also the entire exterior lights up.
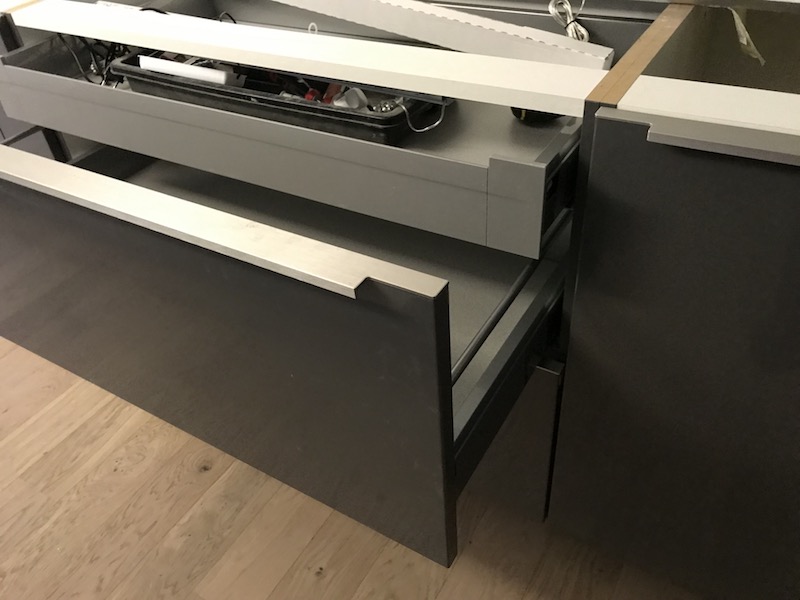
One new thing for us is this, that they call an "English drawer" which is a hidden drawer. From the outside, it looks like only 1 drawer but on the inside, there are 2. This is purely done for aesthetic reasons.
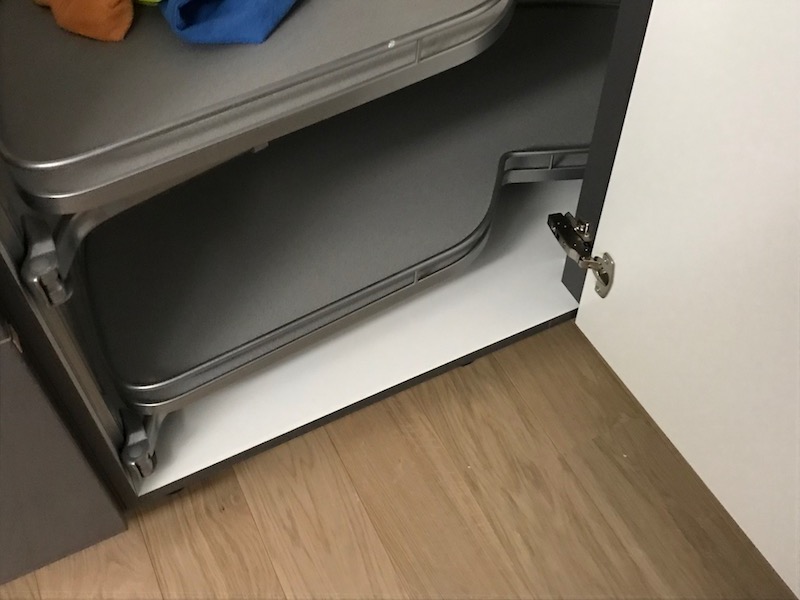
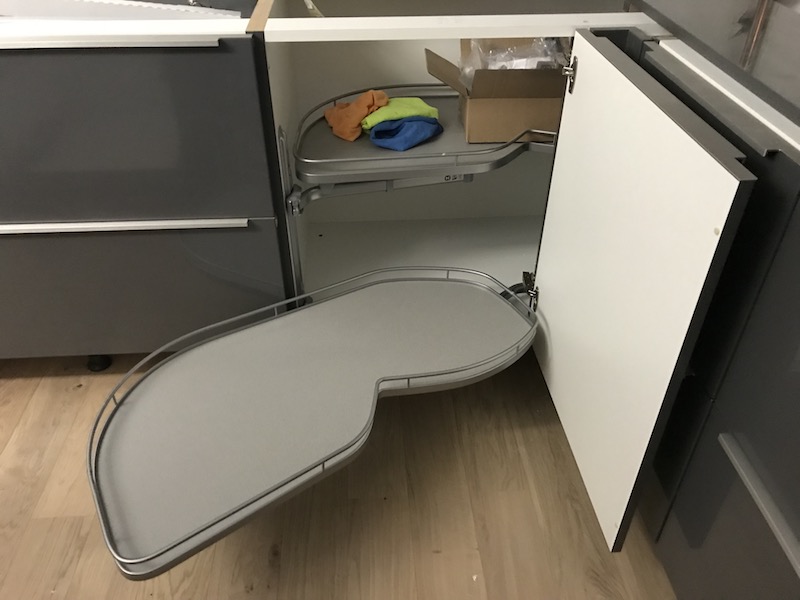
Another little splurge was on the corner Lazy Susan (and yes, I HATE that name!). We went with one that pulls all the way out (the cheaper ones didn't pull 100% out of the cabinet.

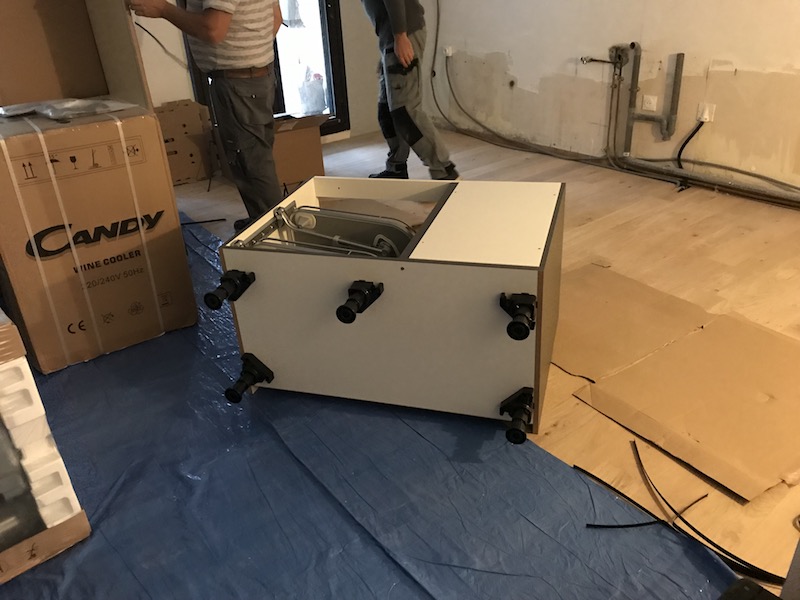
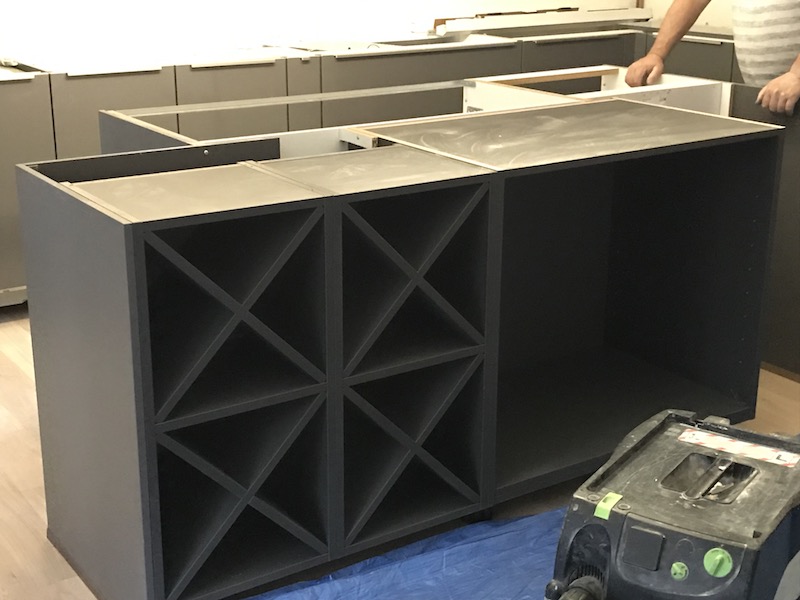
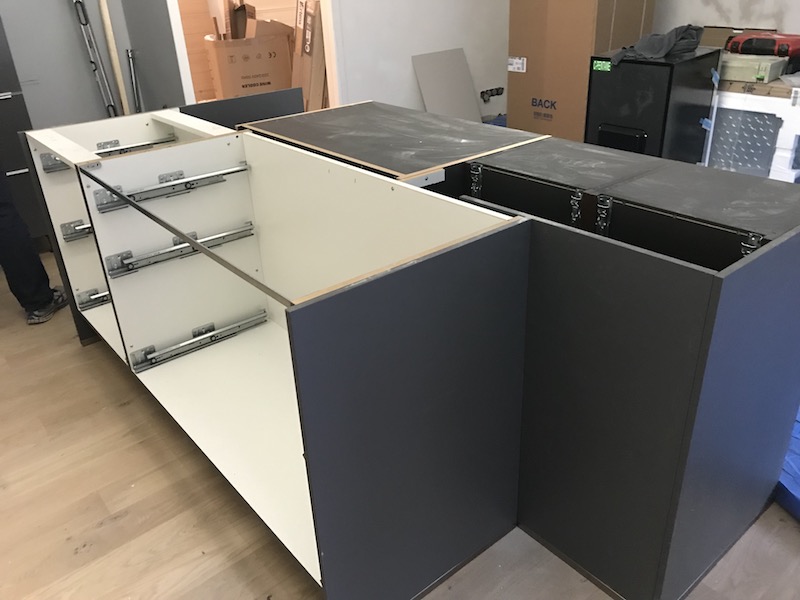
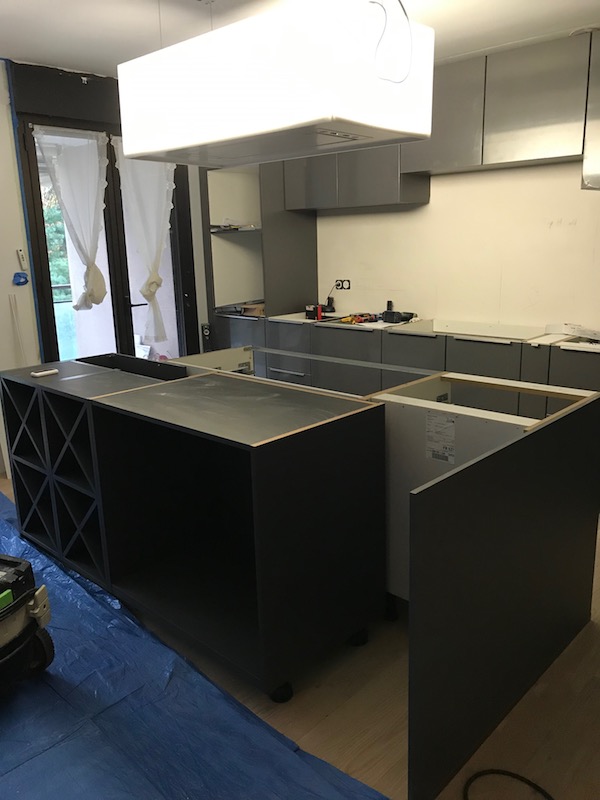
End of the work of the first day ... all of the cabinets are in along the walls, the built-in dishwasher is in and almost all of the drawers and doors are on. They have built the custom-designed island and installed the hotte above. For the island, on the living room side we have 2 sets of the "X" shaped cabinets for storage of wine, then next to it is a large cabinet that will have a shelf in the middle, where we will mount wine glass hangers on the underside, and then to the right is an open space where the wine fridge will go. On the kitchen side, left-to-right are a smaller cabinet with drawers, then a long cabinet also with drawers that will have the cooktop mounted on it, and then the empty cut-out space is actually where the trashcan will be "hidden".
Kitchen Day2
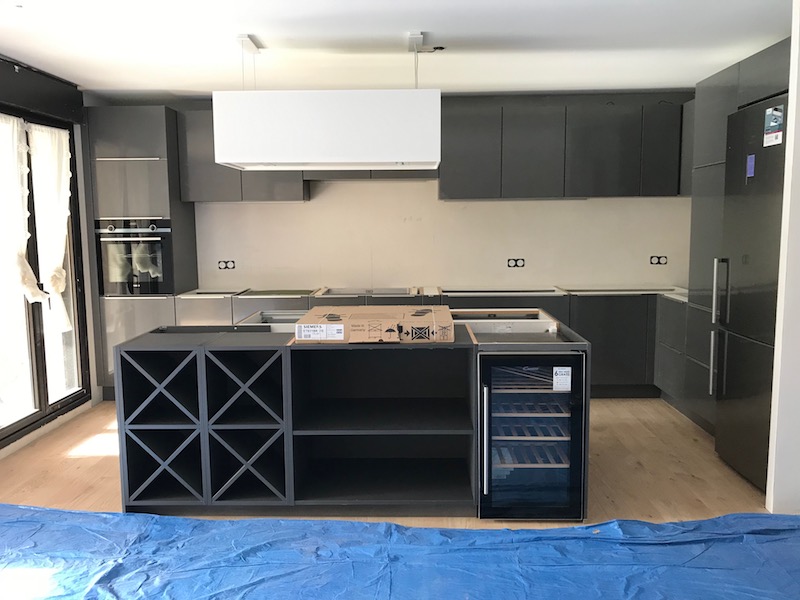
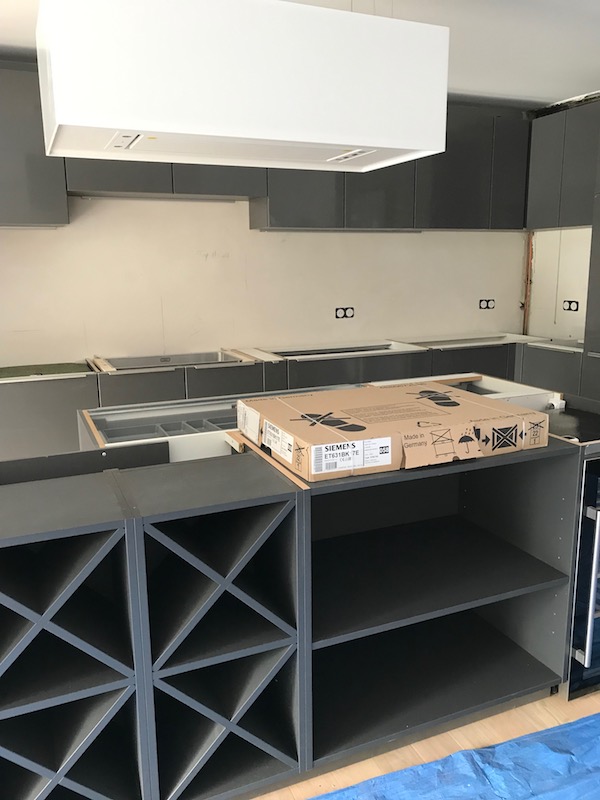
Day 2 was actually quite a busy day. The kitchen carpenters arrived again between 8 and 8:30 to get started, and the air conditioning (below) was being installed at the same time. The own and refrigerator got put in today, as well as the wine refrigerator. They semi-installed the sink, which will then get pulled back out and re-installed when the countertop comes. All of the "english drawers" got additional interior catches added, and one of the cabinets got a push-to-open mechanism. There is under-cabinet lighting as well around the entire perimeter of the upper cabinets. They also mounted a few under-cabinet wine glass hangers in the top of the large open section in the island next to the wine refrigerator. He also ended up doing some interesting carpentry work for one of the unique things in this apartment ... a required fresh air vent which just happens to be where I put a cabinet. So he built a fake wall in the inside and cut the top out of the cabinet to let the fresh air flow into the room. They also installed all of the toe kicks/kickplates underneath the cabinets and around the center island. The Siemens cooktop is the only thing that didn't get put into place .. it will get mounted on the countertop. The upper cabinets seem a bit higher than we are used to, but it will give us plenty of work space.

They got done and took us through all of the details (what to use to clean and what NOT to use to clean, how to remove drawers and doors if we need to, etc). They will be back in a week or two to fix a few things that they needed to get replacement things from the cabinet manufacturer. The countertop measurement also got taken this afternoon and it will take 2 weeks to fabricate.
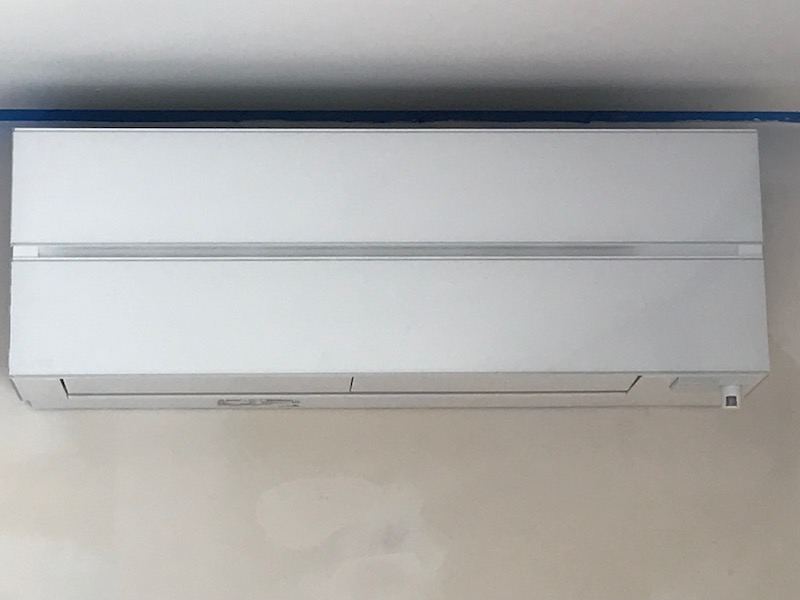
Air Conditioner Install
I'm not sure how many of my friends and family in the US will even know what these things are. Another difference between this apartment and the houses/apartments we had in the US. Even in the apartments that we lived in before we bought a house in the US, the AC was "built-in" with vents in either the floor or ceiling and the central system mounted somewhere outside. For this apartment, we went with 2 room-based air conditioning systems with a one central system outside on one of the balconies. The prior owner had basically the same setup but we have replaced that system with a brand new Mitsubishi system. This is the wall-mounted unit in the living room/dining room area, and we have another one in the bedroom. It took them literally all day ... they arrived about 8:30 and left at 5:30 or so with a couple hour break over lunch.
Update: you can now link directly to Part 4