Our Blog - Renovations (or as I call it ... the Money Pit) - Part 2
We left on vacation for a little more than a week and we let the workers continue while we were gone. We initially had thought to have them stop, in case they had questions or problems and we weren't around. But since they were making good progress, we let them continue.
Day 12
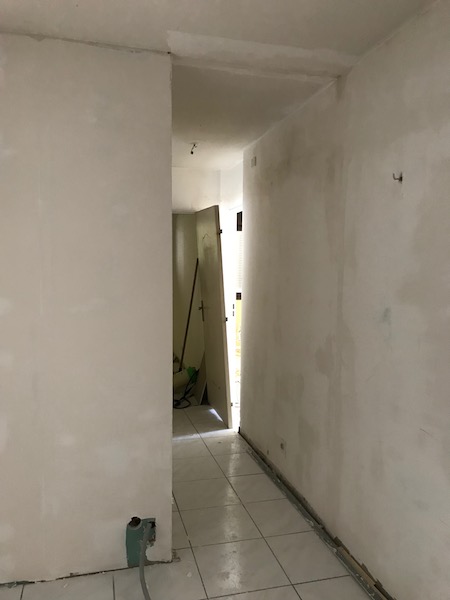
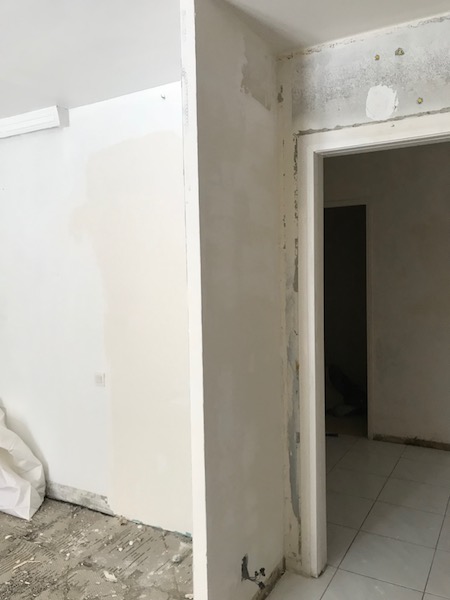
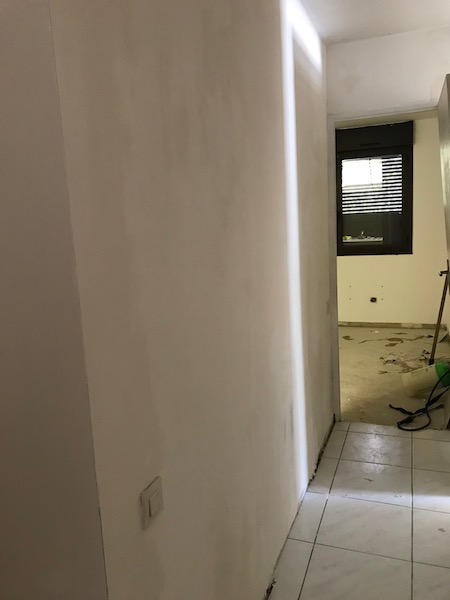
The first thing that we noticed when we came in was that the door going from the entryway into the kitchen was now gone and a new wall built in its place. As we went around, it looked like they had done most of the work related to getting the walls back together (like fixing the wall going down the hallway that got ripped up when they removed the door). They have also started doing the first coat of plaster or whatever it is that they put on the walls (in the US, I would somewhat call it joint compound I think). Eventually, this will get a couple coats, sanded nice and smooth, and it will be the base that we paint over. The small wall between the kitchen and living room that was left to hide the side of the refrigerator has gotten closed up as well. And the door that used to go into the small bathroom is gone and made into a nice wall.

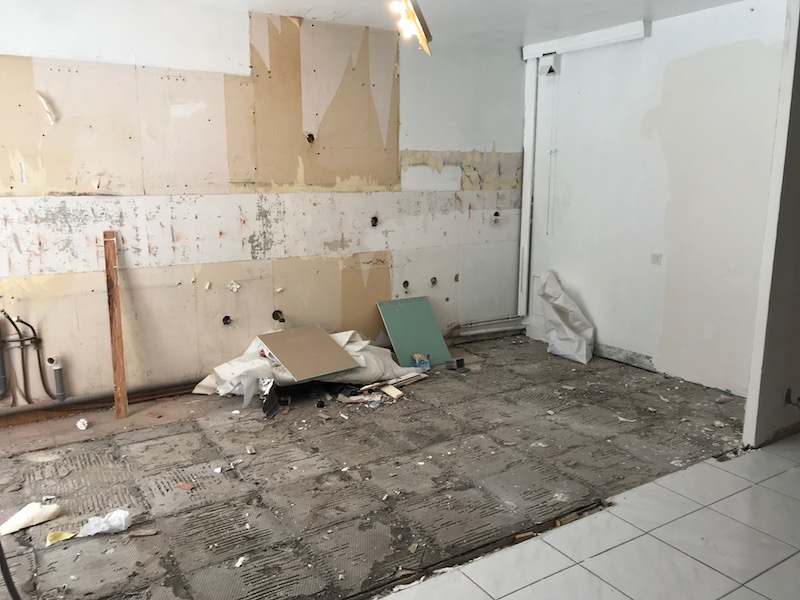
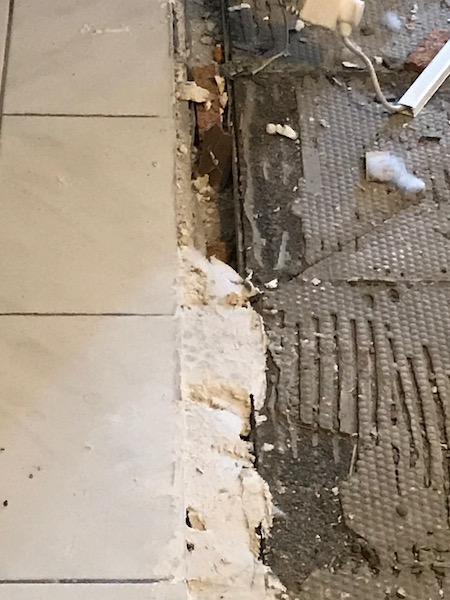
The kitchen is gone, including the extra layer of tiles that had been added. The floor looks pretty rough, but it will get smoothed out to the same level as the white tiles in the living room. We will lay hardwood floors over all of that. There is also a big opening in the floor where the wall was that got removed, and that will also get filled in.
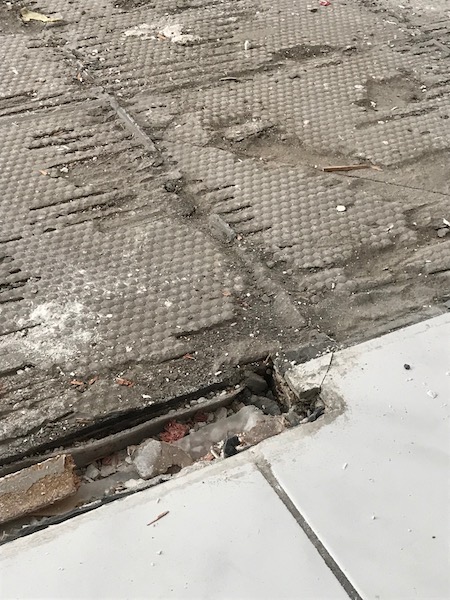
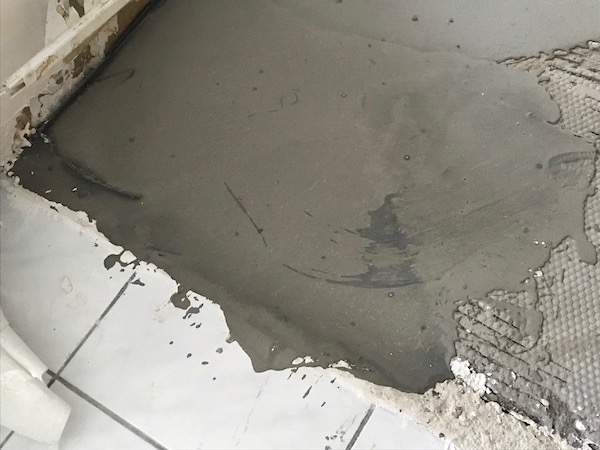
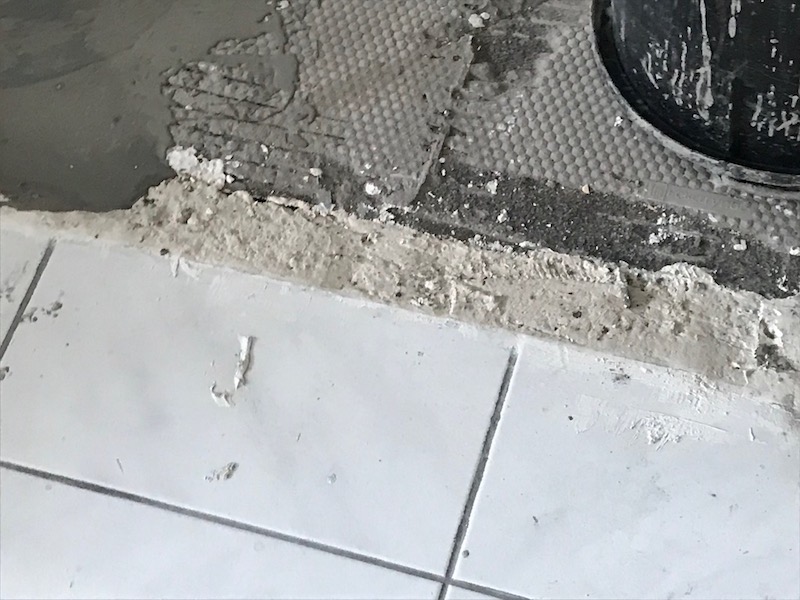
This is an interesting picture for me, although I'm not sure how well it looks to other people. This is one corner of the kitchen, just to show the layers. There is a concrete floor (the bottom) and then you can see what looks to be a whitish-colored square in the middle. To me, it looked like a piece of felt, but in talking to the renovation guys, this is a waterproof barrier that is sometimes used under tiles in France. Didn't seem too waterproof to me, but what do I know :-). And then the grey I think is the mortar that was used to lay the tiles that got removed. It is pretty stable, and so we'll leave all that and just level above it and lay the wood floor.

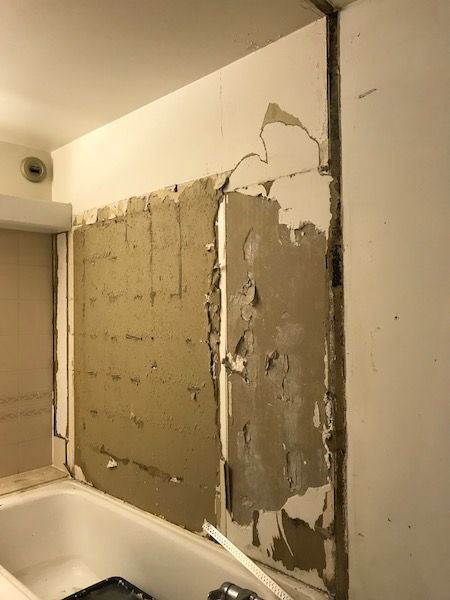
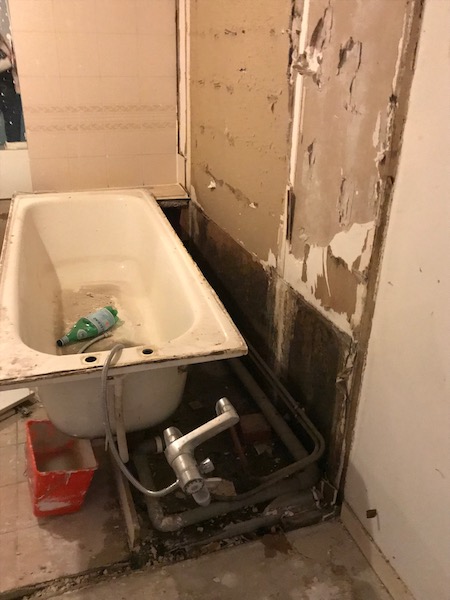
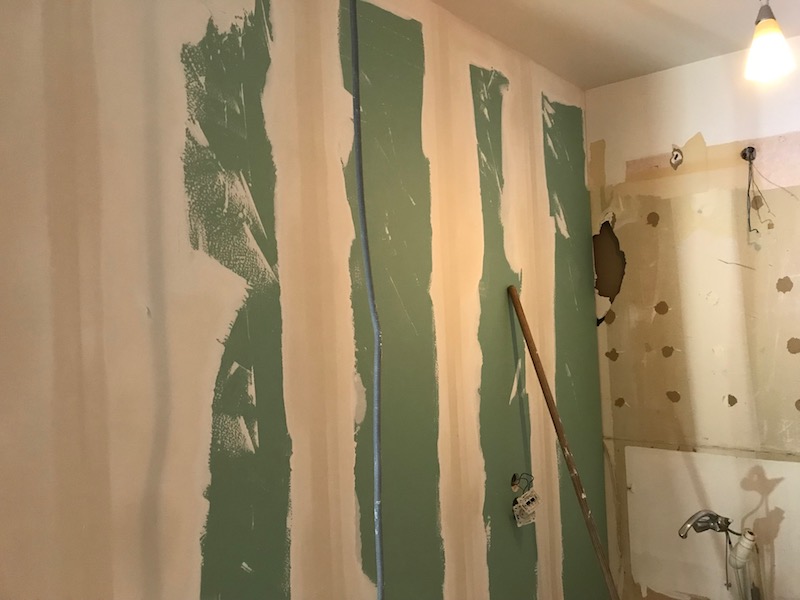
They have started getting rid of what remains of the old bathroom, the first to go were the tiles behind the tub.
Day 14
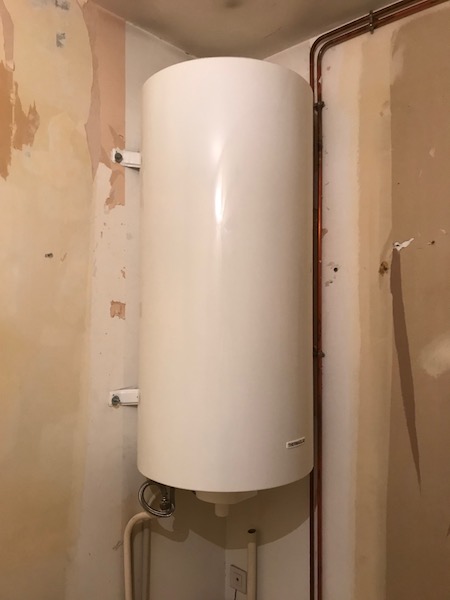
The new hot water heater got installed the following day, going from 100 liters to 200 liters. Interestingly enough, it isn't twice the size. They also started removing the bathroom fixture and tub, and had done quite a bit more work on the walls, getting them ready to be sanded down.

Day 15
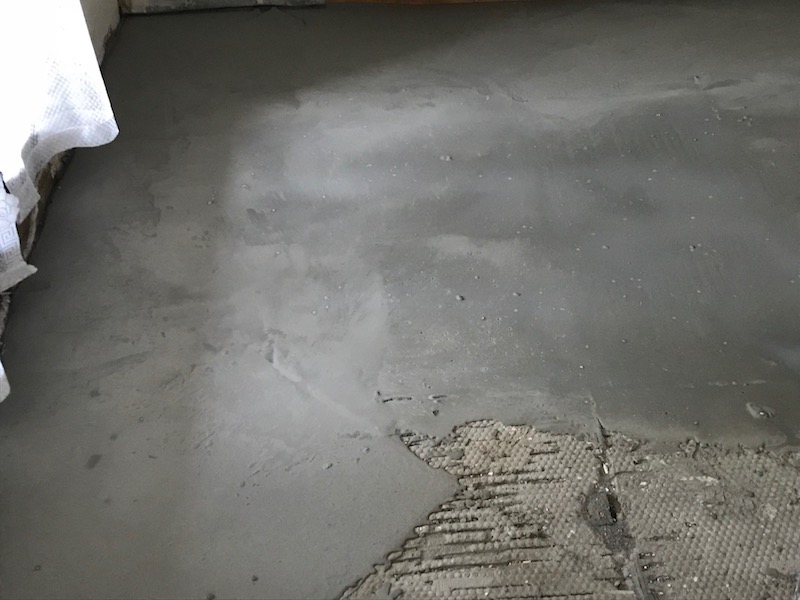
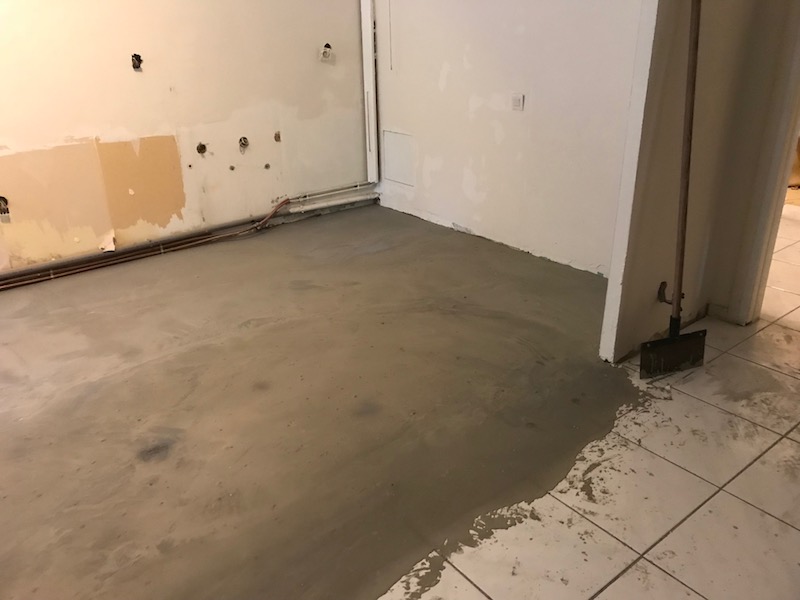
Last day of the 2nd week of renovations and two big things were getting done. First, the kitchen floor had started to be leveled using a self-leveling compound. It looks like the first part of it has been done, although you can see they aren't yet finished with it. They have also filled in the opening in the floor where the wall was removed.
The other thing was they started removing the tub, vanity, and associated storage cabinets. This will allow them to get the walls fixed up and ready to receive the new bathroom.
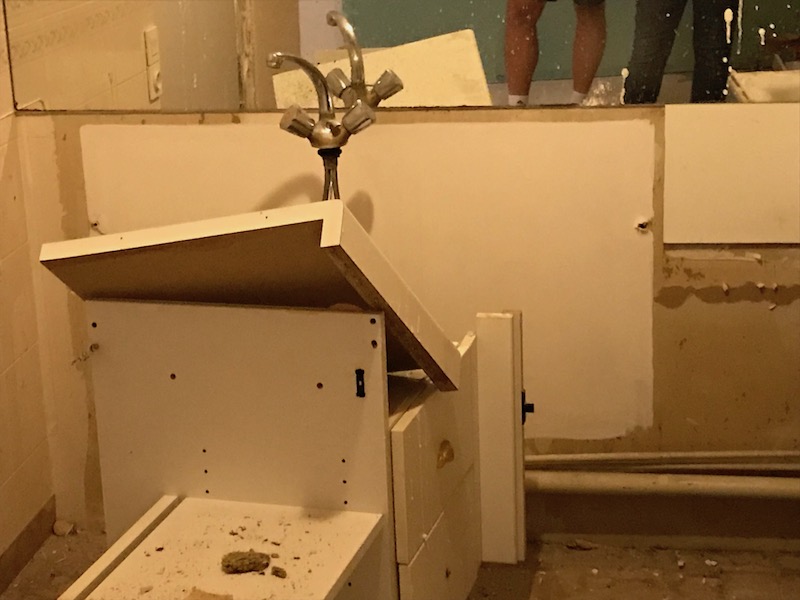
Day 16
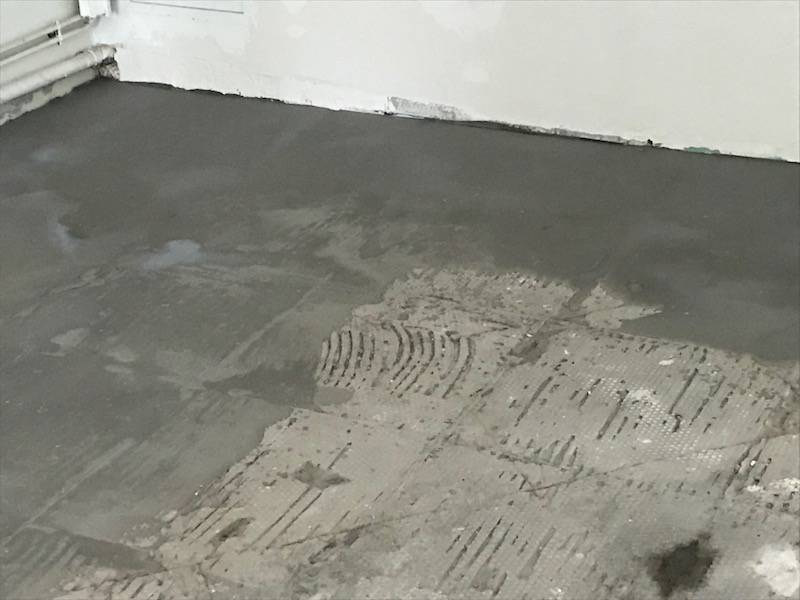
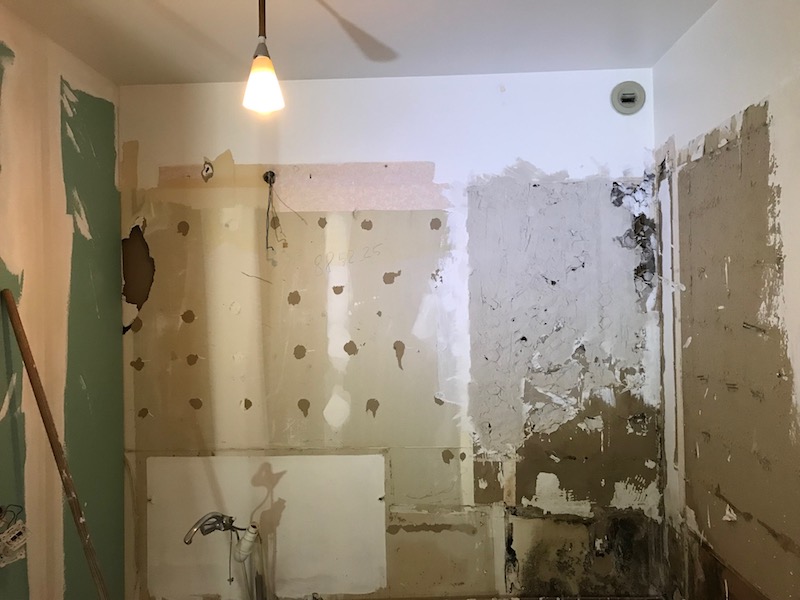
They finished with the leveling agent in the kitchen and they got the tub and sink out of the bathroom. We ended up leaving a set of tiles on the walls in the bathroom and just adding another layer of sheetrock on top, since it was either that or basically rip out the whole wall and rebuild it.

Day 17
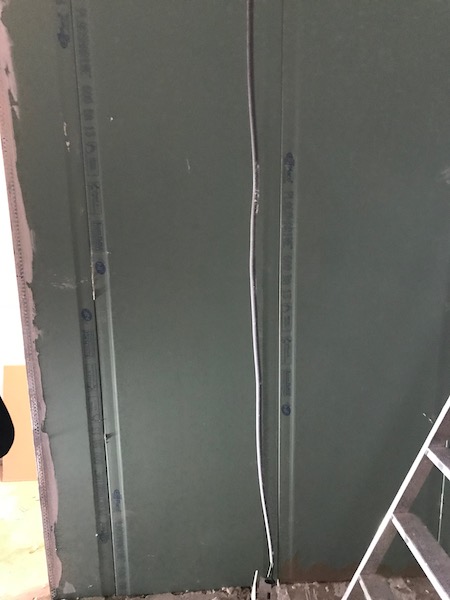
More bathroom work, with the mud-and-tape on the joints.
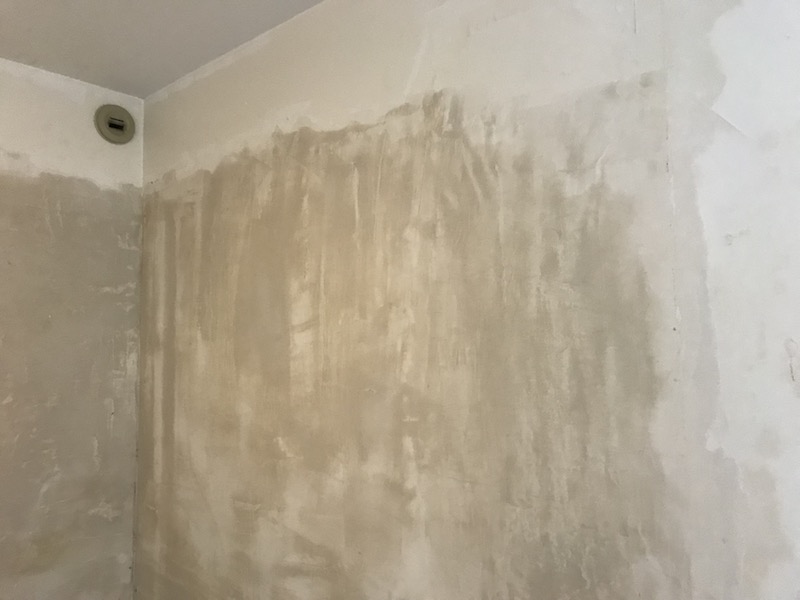
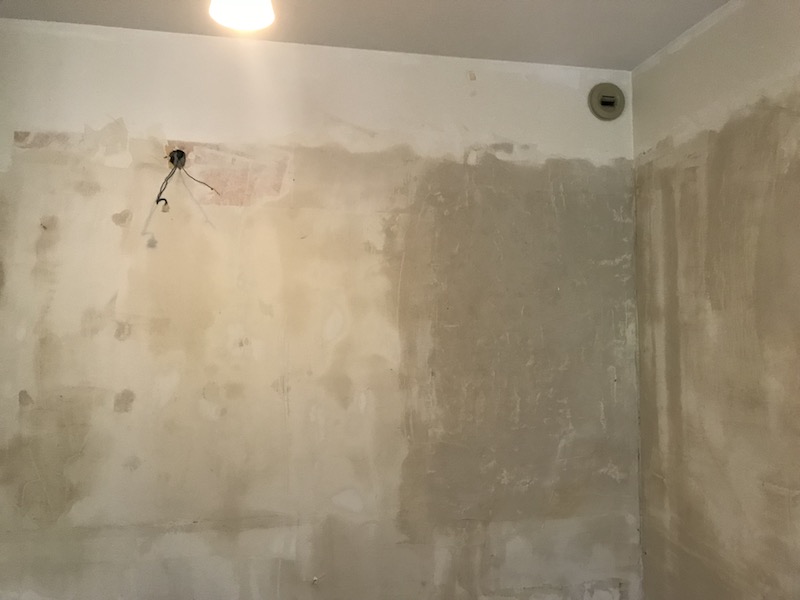
Day 18
If you scroll back and look at the last picture, you can really see quite a bit of work today. They have re-plastered the bathroom walls where the tiles came out and did a decent job of ripping up the walls. They got almost all of the walls plastered up and ready to dry and then sand, to get them ready for us to paint later. They also got the rest of the flooring removed (that is being removed) and ready for the next artisan to come in to lay new flooring. This completes the work for the first set of workers.
Last day before vacation
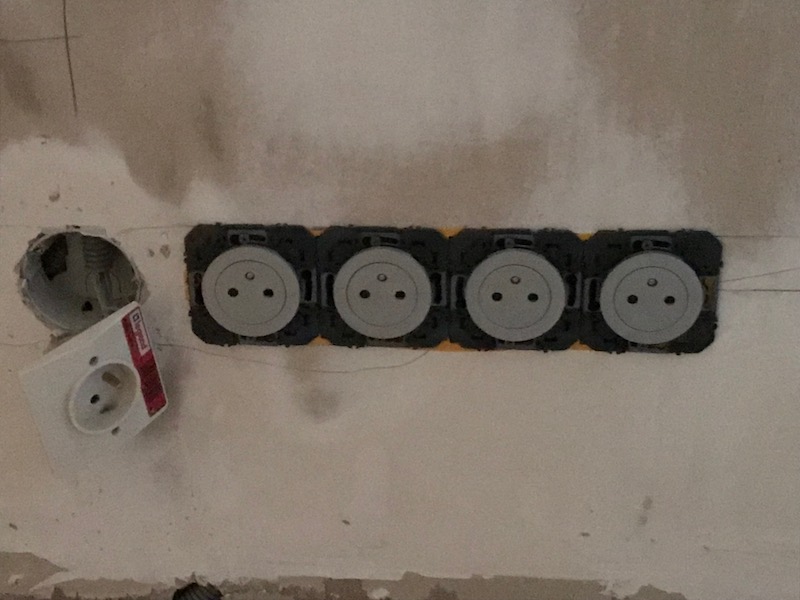
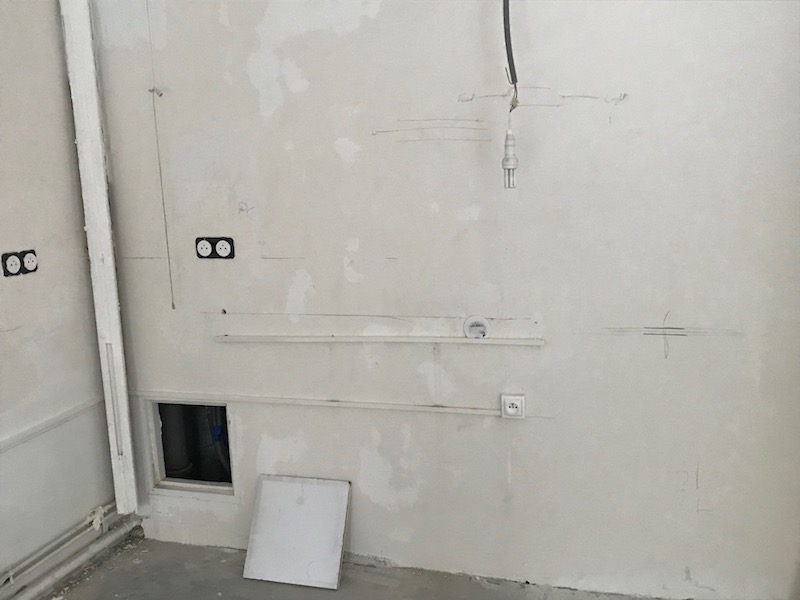
I didn't do daily pictures for the next week of work, which was the first with the next renovation company. This is run by a British gentleman with his son, and we specifically wanted an English-speaker for the majority of the "heavy" work, as it would be easier. First up for him was all of the electrical work that we wanted done. While we didn't have to rewire the apartment (some of our friends are buying a house that has to be totally rewired due to the age), we did end up putting in LOTS of extra sockets and moving light switches and things. We selected a type of electrical socket called "Surface", so that they are flat against the wall and when you plug something in, the plug then goes back into the wall. In general, the normal ones in France that we see have the socket sunken into the wall (you'll see one of these later). We are doing grey ones anywhere that the walls will be painted grey, and white everywhere else.
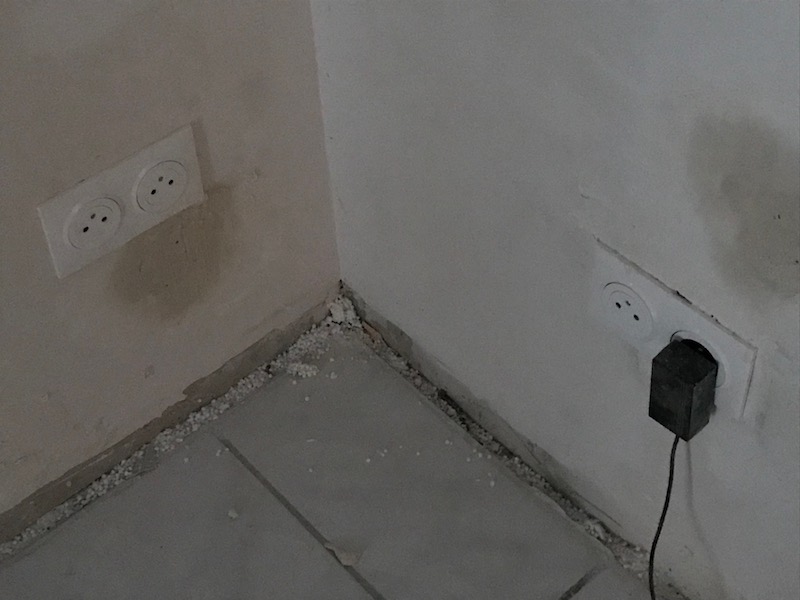
Here is an example of the "old style", which he did for the outlet for the refrigerator, since nobody will see it.
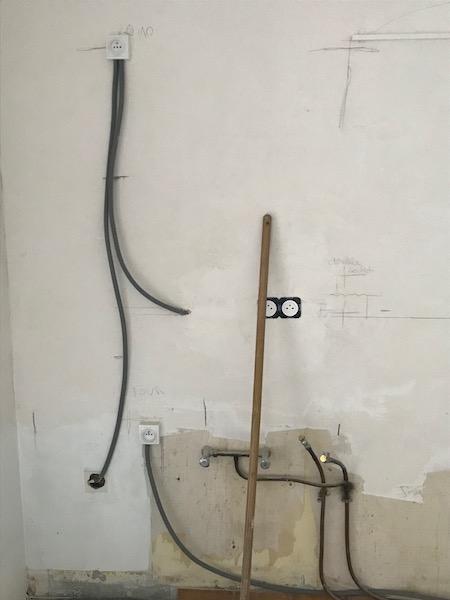
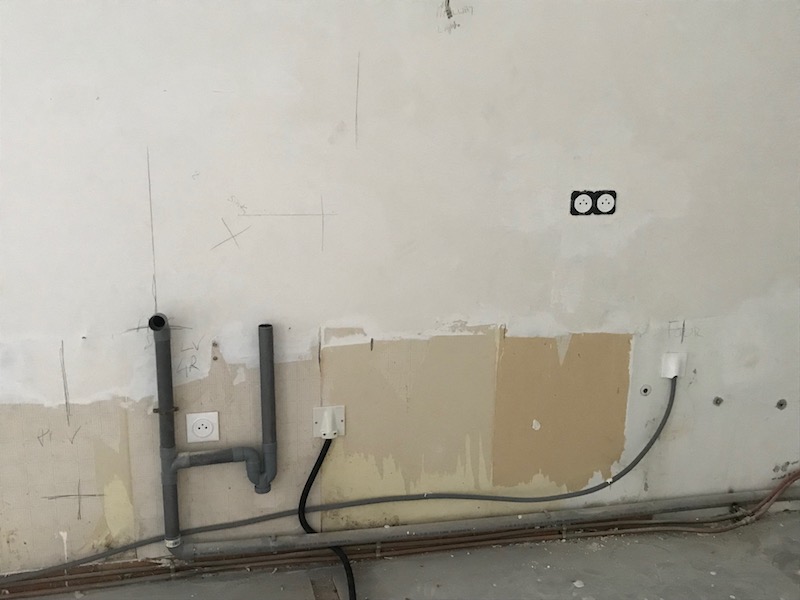
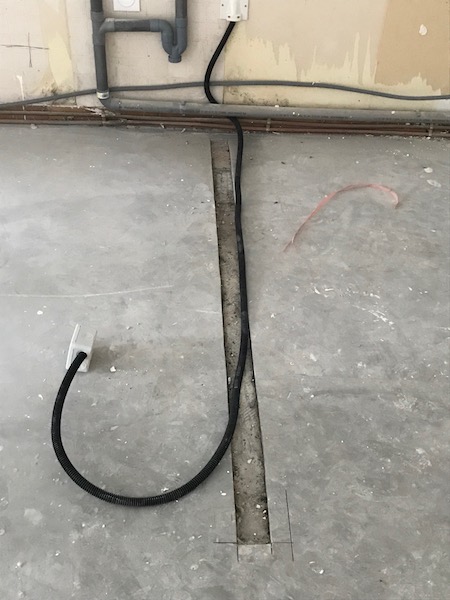
In the kitchen, we had to have some of the electrical moved around since the oven is going on the opposite side of the kitchen as it was before, and he also ended up moving the plumbing for the dishwasher and sink. You can also see the set of double-sockets about 1/2 way up on the wall ... we did 8 sockets semi-evenly spaced around the kitchen walls, which will be within the tile backsplash. Then you can see the trench that he had to cut out of the floor-leveling compound in the kitchen to run some electrical lines. These will go under the hardwood floors to provide power to the center island, which will have our cooktop (on the kitchen side) and a wine refrigerator (on the living room side).
They have also removed basically all of the doors and door frames. We decided that instead of taking the doors off, cutting them down (as they would be too tall once we put in the hardwood floors), sanding them down, and repainting them ... we would just buy new ones. They come mounted already in the door frame, so he removed the various door frames. All will be wooden doors, with the one going into the storage room (with the hot water heater) being a sliding door (like a barn door) on rails. The rails will be hidden within a custom box. We can get a kit for a "cache-rail" or "hide rail" but it was a little too short ... the rails that we selected are normally not hidden. However, we don't want them seen but chose this specific rail system because it slid much smoother than the others. So we are just having him build a custom "cache-rail".

And from here, we go *again* on vacation. By the time we get back, hopefully we'll have a bathroom and some new flooring!
Update: you can now link directly to Part 3
Update: you can now link directly to Part 4