Our Blog - Renovations (or as I call it ... the Money Pit) - Part 1
I mentioned that we bought this apartment with renovations in mind. And I don't mean a bit of paint and new curtains. When I say we are renovating the whole apartment, I do mean the WHOLE apartment. We assume the renovations will take 3 months and so we are hoping to be able to be moved in by Christmas. But in the meantime, we are trying to stop by every day (yea, my OCD traits are coming out) to look at what has been done and to take pictures. I have gone back and forth on if I should try to show the renovations by room or by day, and well, based on how it has gone for a couple days, we'll go with by day.
But to start with, let me explain my "plan" .... and it probably is mostly my plan ... as I think I've done the majority of the drawing out things on paper. Tom has told me where he disagrees with me, and we've made changes, but he has let this be "my baby" for the most part. There have been a few cases where he has said "no, that is ugly" or "we'll do this one" if he has a specifically strong view one way or the other.
This is in a large apartment building, so we can't change the structure. In fact, I don't think technically we own outside of the walls. So here is my plan .... in general, we will fix up and paint all the walls and ceilings. All of the floors will be replaced as well as all of the lighting. For the floors, the foyer/hallway and everything to the right (kitchen, living room, bedroom) will be hardwood floors. Everything to the left (closet, powder room, bathroom) will be tile.
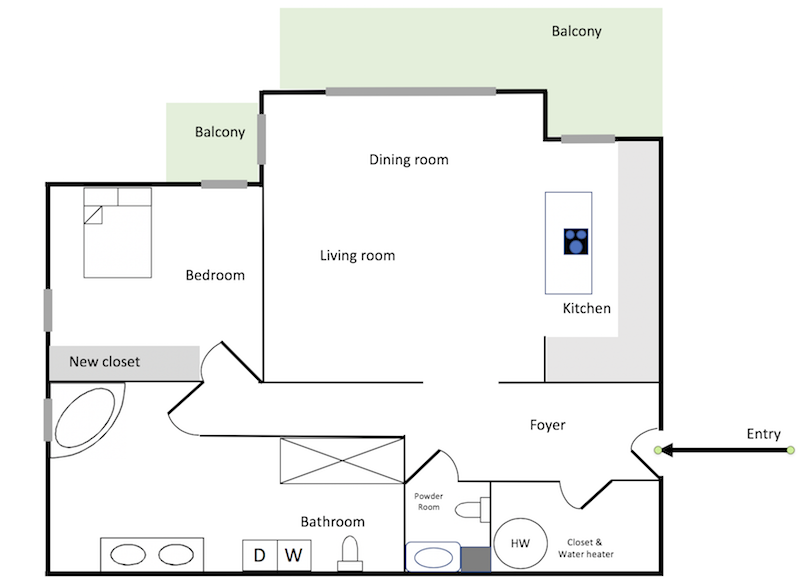
We will have the same entry and same closet with hot water heater to the left. What is there now is a fairly small hot water heater so it will get replaced, and we'll put in some sort of storage including a place to hang coats and most likely shelves for storage. The powder room says basically the same although we will replace everything actually "in" the room .. new toilet, new sink, new door. The dark square is a column which is where the sewer (here called the evacuation) goes into. The bedroom at the end of the hallway on the right stays basically the way it is, except that it gets new floors, a new coat of paint, and a new custom closet (although not a walk-in .... not enough room).
The major changes ... to the left of the foyer, we remove most of the wall between the living room and kitchen, and remove the door from the foyer directly into the kitchen. This will be a large "pièce à vivre" (it actually translates to living room, but it is basically the American open concept) with a L-shaped kitchen with a central island. In fact, in France, the open kitchen is actually called an "cuisine americain" or American kitchen. It will not have an "american refrigerator" (the massively huge ones) but a normal "european refrigerator".
Second major change ... we lose the 2nd bedroom and take out the closet and wall between it and the bathroom, and create what I have been calling an "american bathroom" because it is huge compared to what we have seen in France. There will be a corner tub under the window, a double vanity, a large walk-in shower (the thing with the X), a 2nd toilet, and the washer/dryer. We will stack the washer/dryer and have a cabinet next to it with pull-out laundry baskets and shelves for storage, but it didn't look good in the drawing.
Hopefully that makes sense.
Day 1
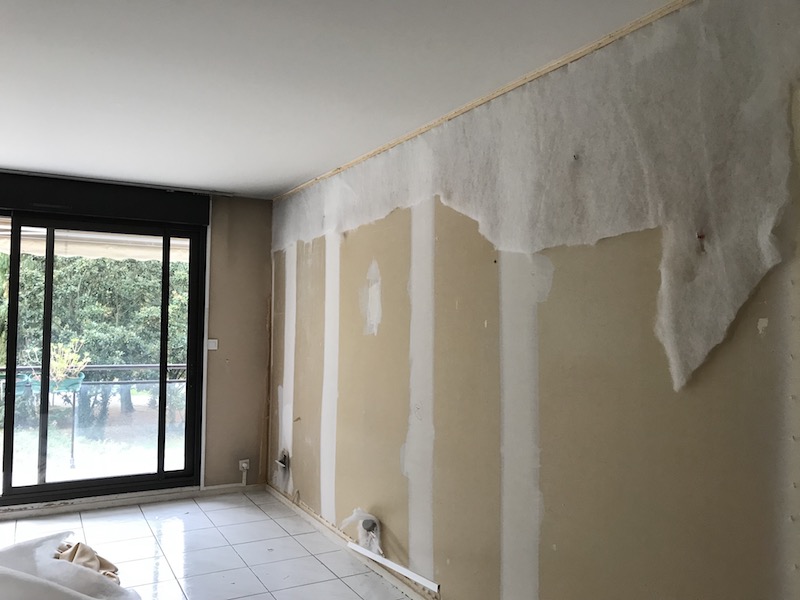
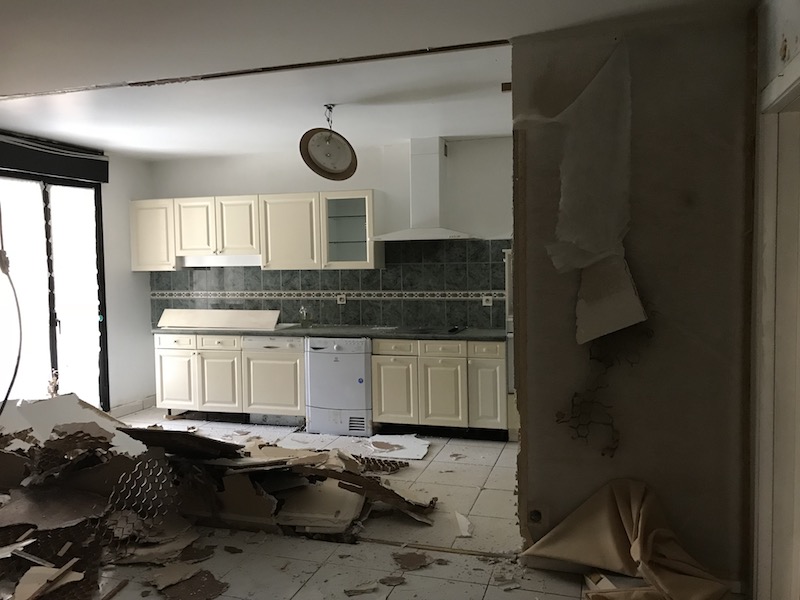
We are having 4 different groups of people doing the renovations. The first is a French artisan who is doing most of the demolition work. This includes removing walls and doors and remaking walls as necessary, removing the existing kitchen, the closets, some of the existing flooring, and getting the walls ready to be painted. In the foyer and living room, fabric and batting that is currently on the walls has to be removed. At this point, we start seeing definite differences in building techniques from what we are used to with a stand-along house in the US.
We didn't get the contract signed with the first artisan before work started, so while we were working through final changes in the estimate, the 2 guys who are doing the work made somewhat quick work of removing some of the fabric and batting off the wall in the living room. By the end of the day, the wall between the living room and kitchen was gone..
Day 2
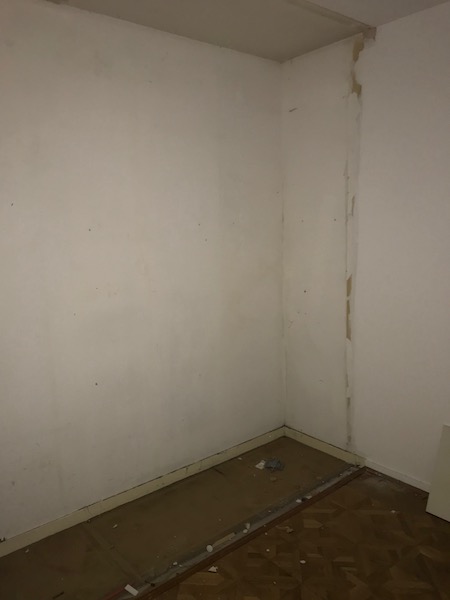
We actually didn't think *THAT* much got done on Day 1. We were hoping more got done on Day 2. The first picture is hard to really see what it is, but this is the closet in the master bedroom. There were sliding mirrored doors as well as shelves and hanging bars that have now been removed. Picture #2 is the closet in the 2nd bedroom, also totally removed.

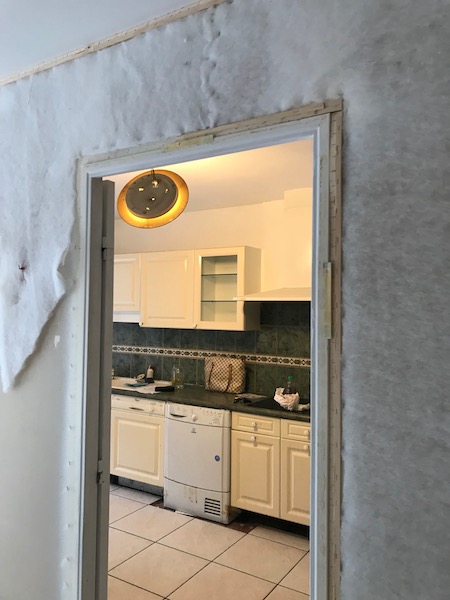
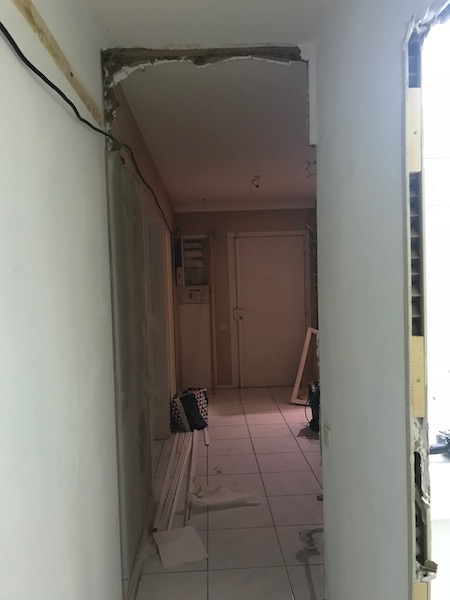
Here you can see where they have taken out the door going into the bathroom, which will eventually be made into a wall.
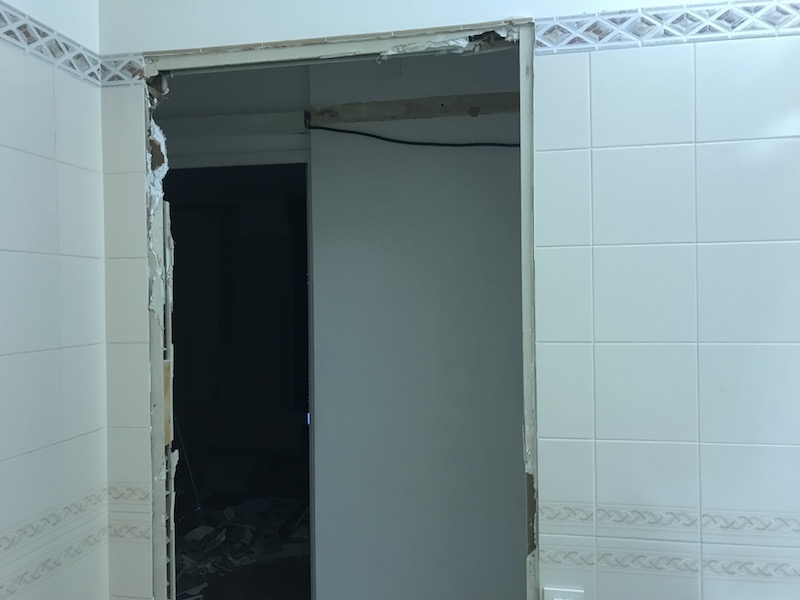
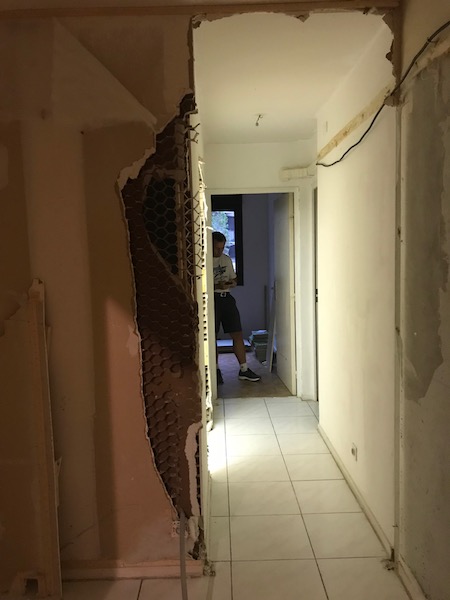
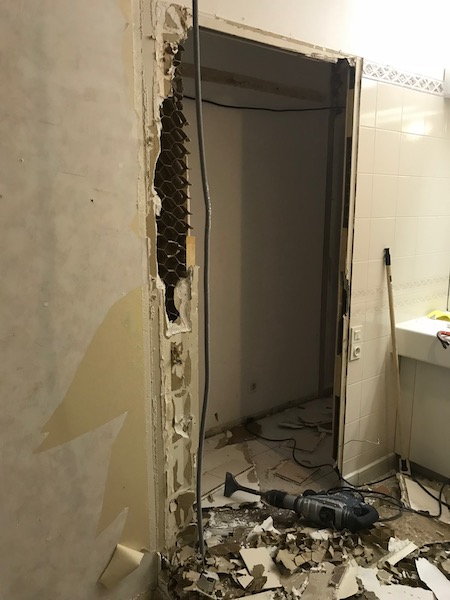
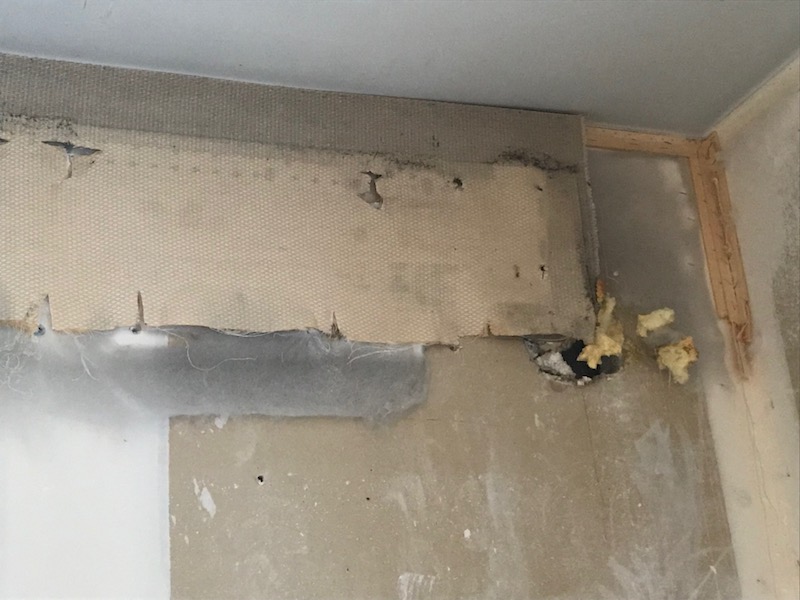
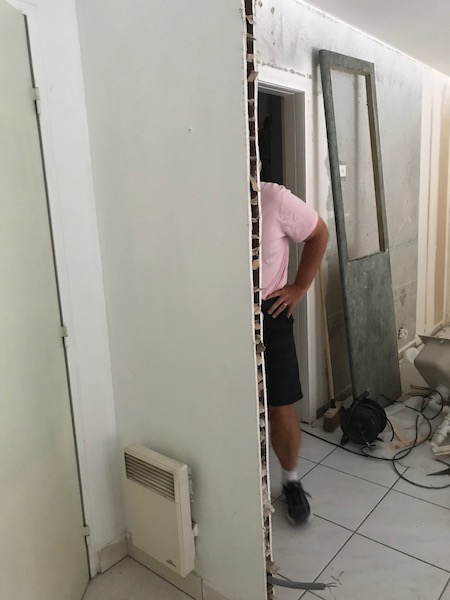
And they have removed the door and doorframe in the hallway. Mind you, on the foyer-side, they did a bit of damage to the wall, so that will have to be fixed. Here I may be able to talk about a slight difference in building. If you loo closely, you can see a honeycomb type structure in the wall. In the US, you would have wood studs normally 12 or 16 inches on center and then that wooden frame is covered with drywall. Here, there is somewhat the concept of a drywall, but the walls tend to be slightly thinner and it is not constructed with a stud framework. Partition walls (so, non-supporting interior walls) are normally 5 cm thick composed of 2 plaster boards sandwiching a honeycomb center. This provides heat insulation but not much sound-proofing, which isn't really thought of as necessary within the apartment for partition walls. You can also see the black wire that goes along near the top of the wall. It seems the electrical wiring for the air conditioning system comes in from the hallway and, therefore, we have to run the wire through the foyer, hallway, and bedroom. Eventually, this will get hidden up at the top behind some crown molding.
Day 3
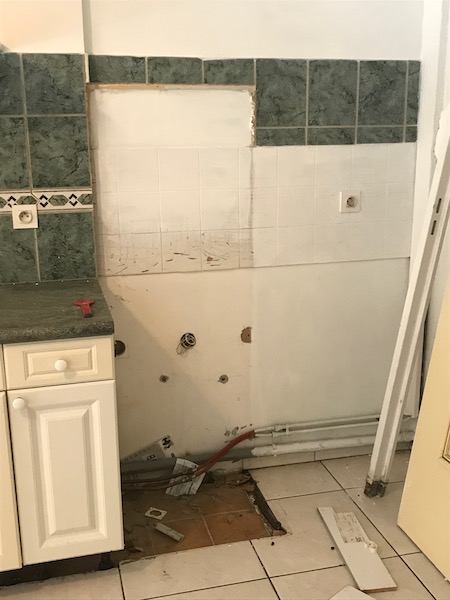
We were actually quite happy with the process on the 3rd day when we went into the apartment in the evening, after the workers had left. In the kitchen, they had started removing the cabinets (the oven & microwave) and started removing the tile and a "fake" wall. It is hard to explain this one, but maybe the 2nd picture will help. You can see where they have removed the upper cabinets, and then the tiles. But the tiles are actually not attached to the wall .. but a small "fake wall" has been added, which is also being removed.
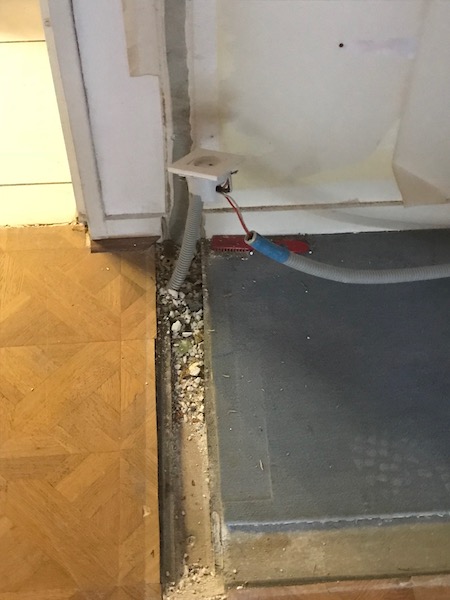
In the bedroom, a partition wall was removed where the closet was, and you can see how the electrical wiring for the outlet and the light switch come out of the floor. Eventually, we will build in a custom closet solution and then most likely mount the light switch and outlet on the side of the closet.
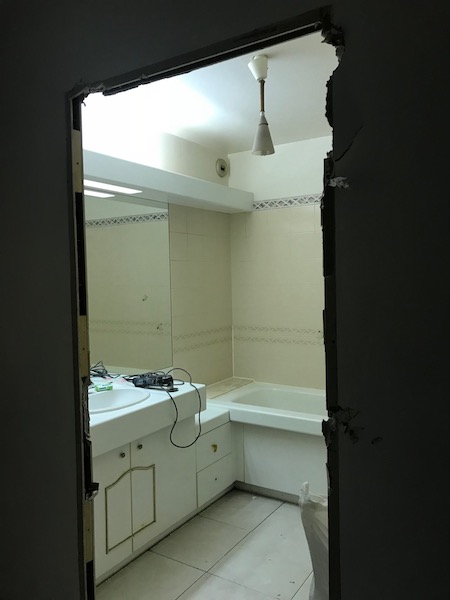
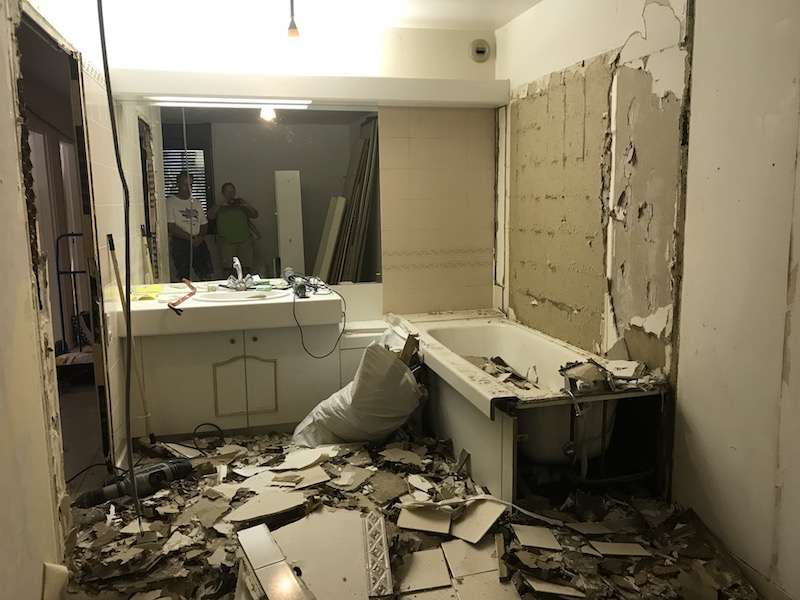
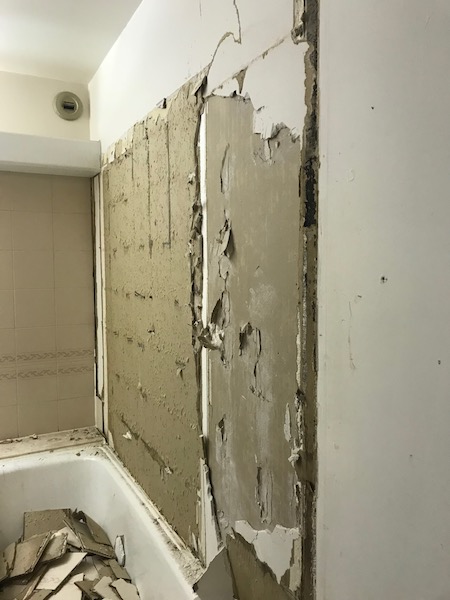
Probably the biggest change today was that the wall between the bedroom and the bathroom has been removed, and part of the wall tiles behind the bathtub have been removed. The wall is pretty ripped up, which we were warned in advance of. We'll have to basically replace that plaster board before painting. The door and frame into the bathroom has been removed and will eventually get made into just a wall (the entry will be the existing bedroom door).
Day 4
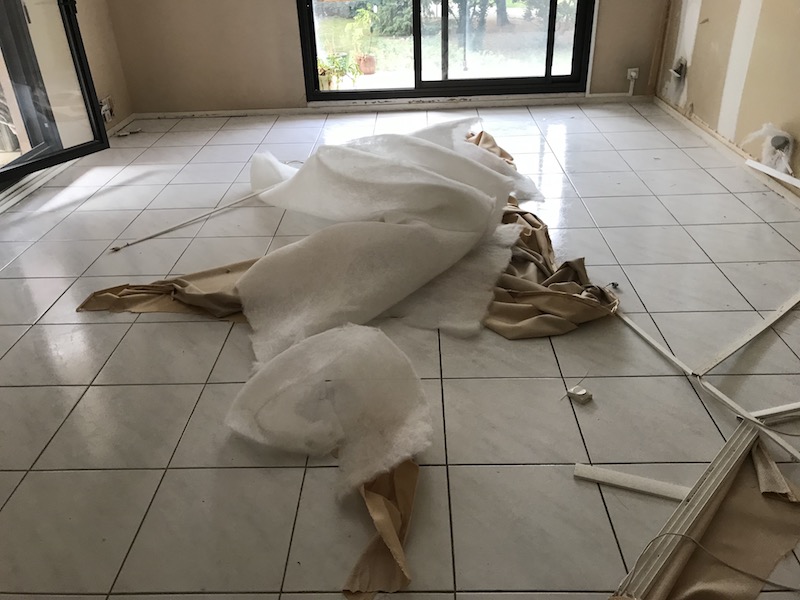
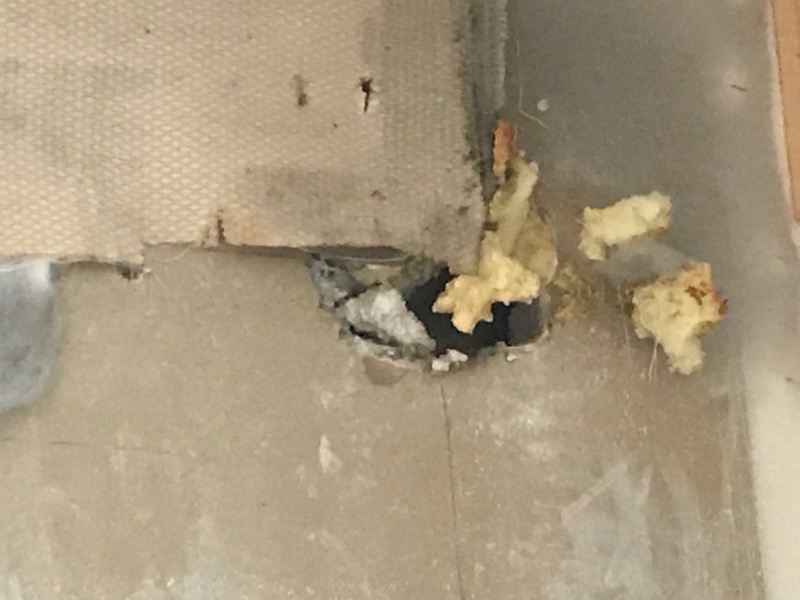
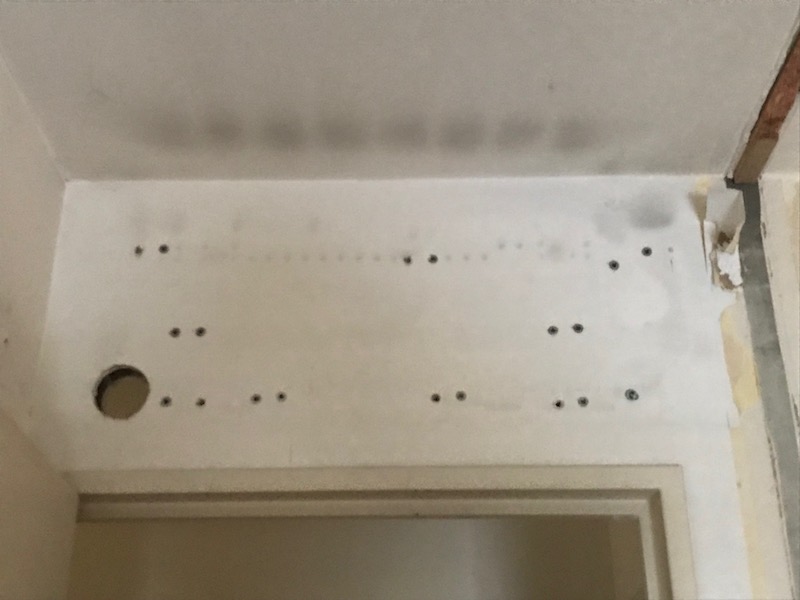
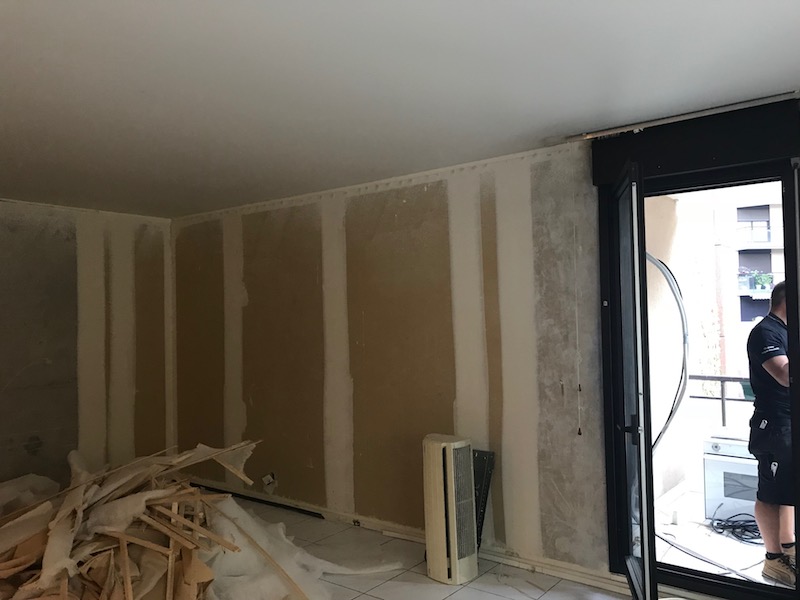
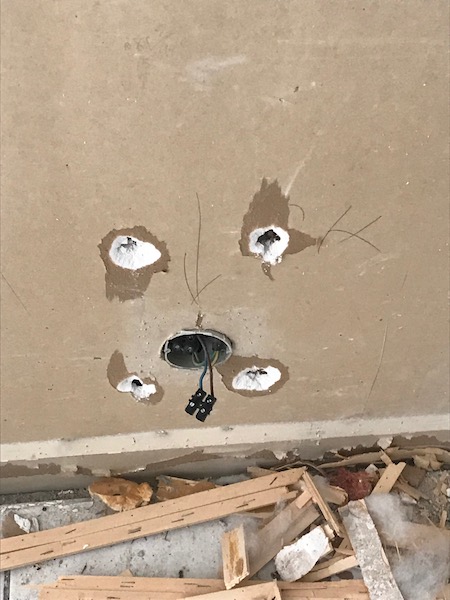
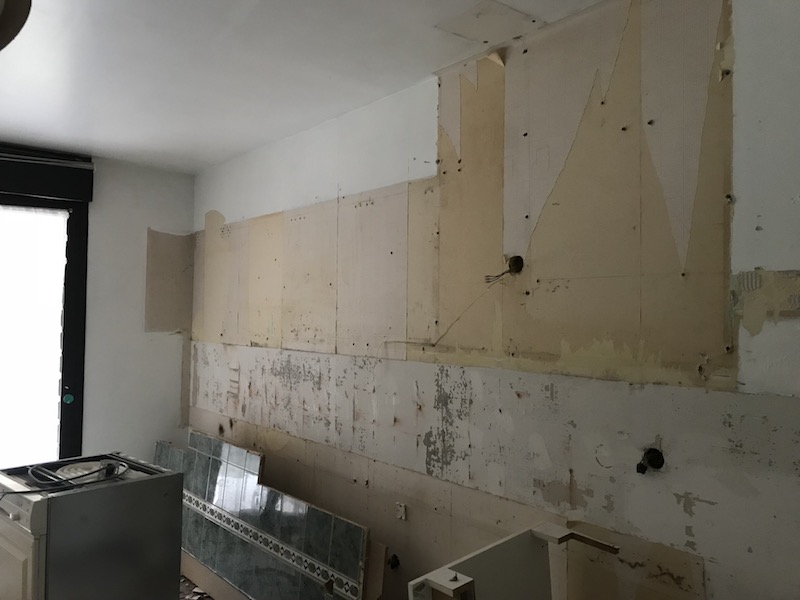
This morning, a crew from the air conditioning company came by to remove the existing system. That included the exterior unit as well as 3 interior wall-mounted units (one in living room and one in each bedroom). You can tell that the systems were added, as in the living room (which is shown), the fabric on the wall was behind the system. The removal also left two holes in the exterior walls where the pipes come in from the exterior unit to the interior unit. The last picture is where the took the AC unit from the bedroom, and the hole is where the pipes went out of that room, down the hallway, and into the other bedroom.
They have done a good job at getting the fabric and batting off the walls and remove the tack-strips on the edges where the fabric was attached.
They are still working on the fabric and tack-strips around these water pipes. Another interesting thing about how things are done here .. those copper pipes that you see come from the hot water heater, through the wall, across the foyer above the front door, through another wall to the kitchen, then down the wall to get to the sink in the kitchen. It was "hidden" behind a square molding, which they have also mostly removed. Once we get everything ready to be painted, we'll have to rebuild the molding to hide these.
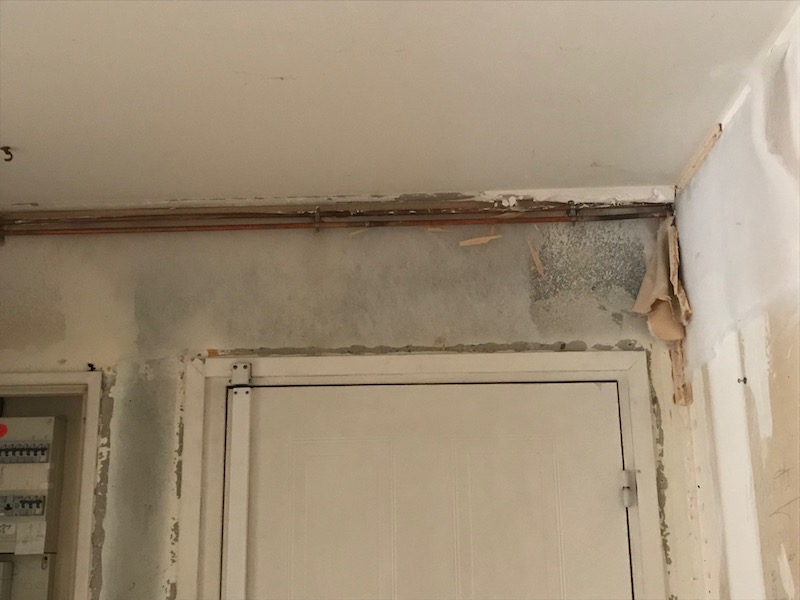
They have removed about half of the electric radiators. Most won't be put back, since the reversible AC system will heat a set of the rooms. We may add one back in the foyer and bathroom.
Day 5
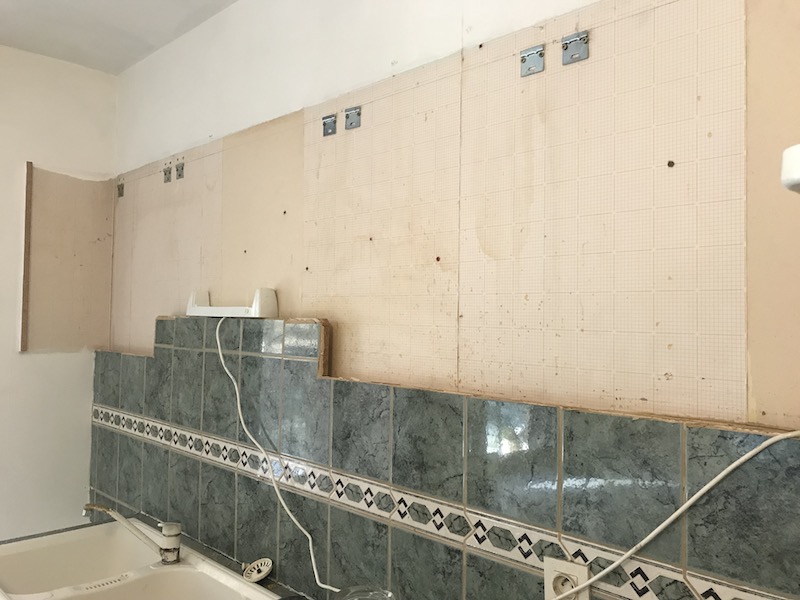
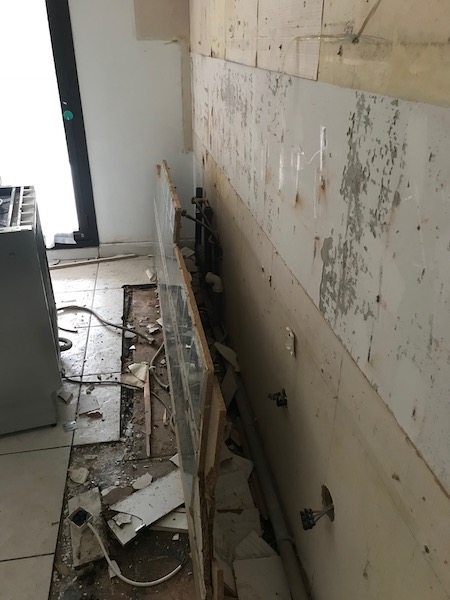
This will be the last update on the renovations for awhile, as we leave tomorrow morning for about 10 days. It looks like they get most of the kitchen taken apart, including removing the range hood, a fake wall, and the wall tiles. I'm actually surprised that the wall tiles came out so easily without ripping up the wall like it did in the bathroom. However, it somewhat makes sense in that the tiles seem to have been attached to the fake wall, so removing the wall took off the tiles as well. They also have cut down the one wall in the kitchen that is being kept to the right size. The refrigerator will sit in that corner and the width of that wall is exactly what is needed to hide the side of the refrigerator.
It is still hard for me to really envision the renovations being done, since they haven't removed any of the debris. Hopefully, when we get back, the trash will be gone and all the walls will be repaired. We'll see in about 10 days. I can't wait!!
Update: you can now link directly to Part 2
Update: you can now link directly to Part 3
Update: you can now link directly to Part 4